
Top crack repair in Stentor Vuillaume violin
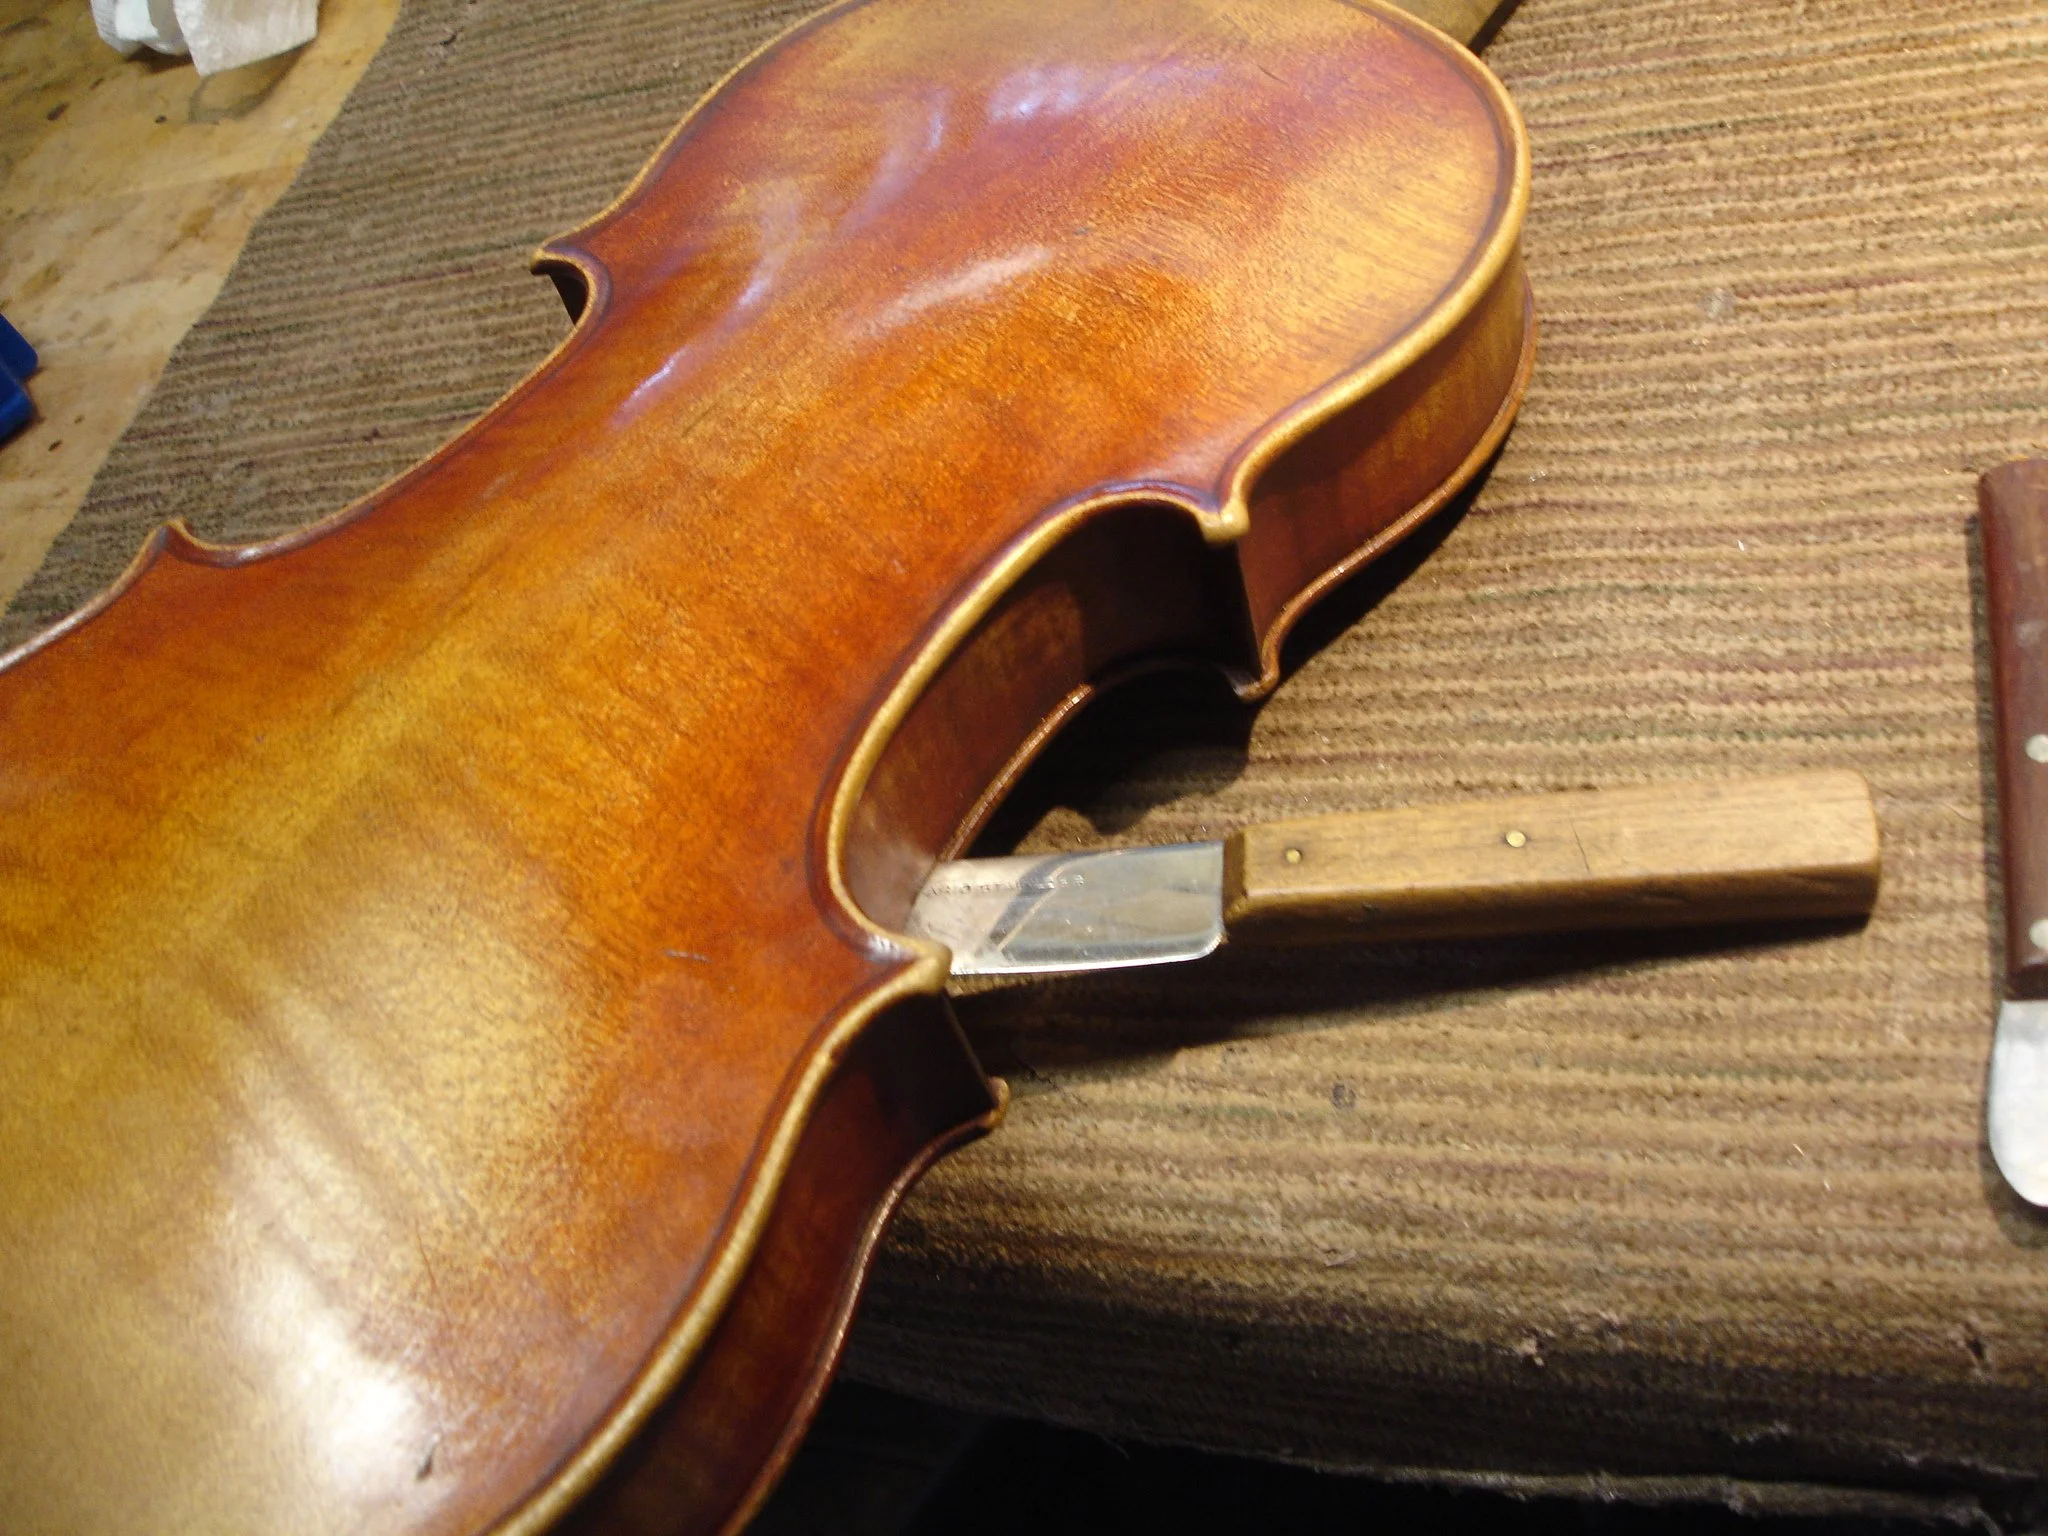
Top removal to repair top crack Stentor Vuillaume
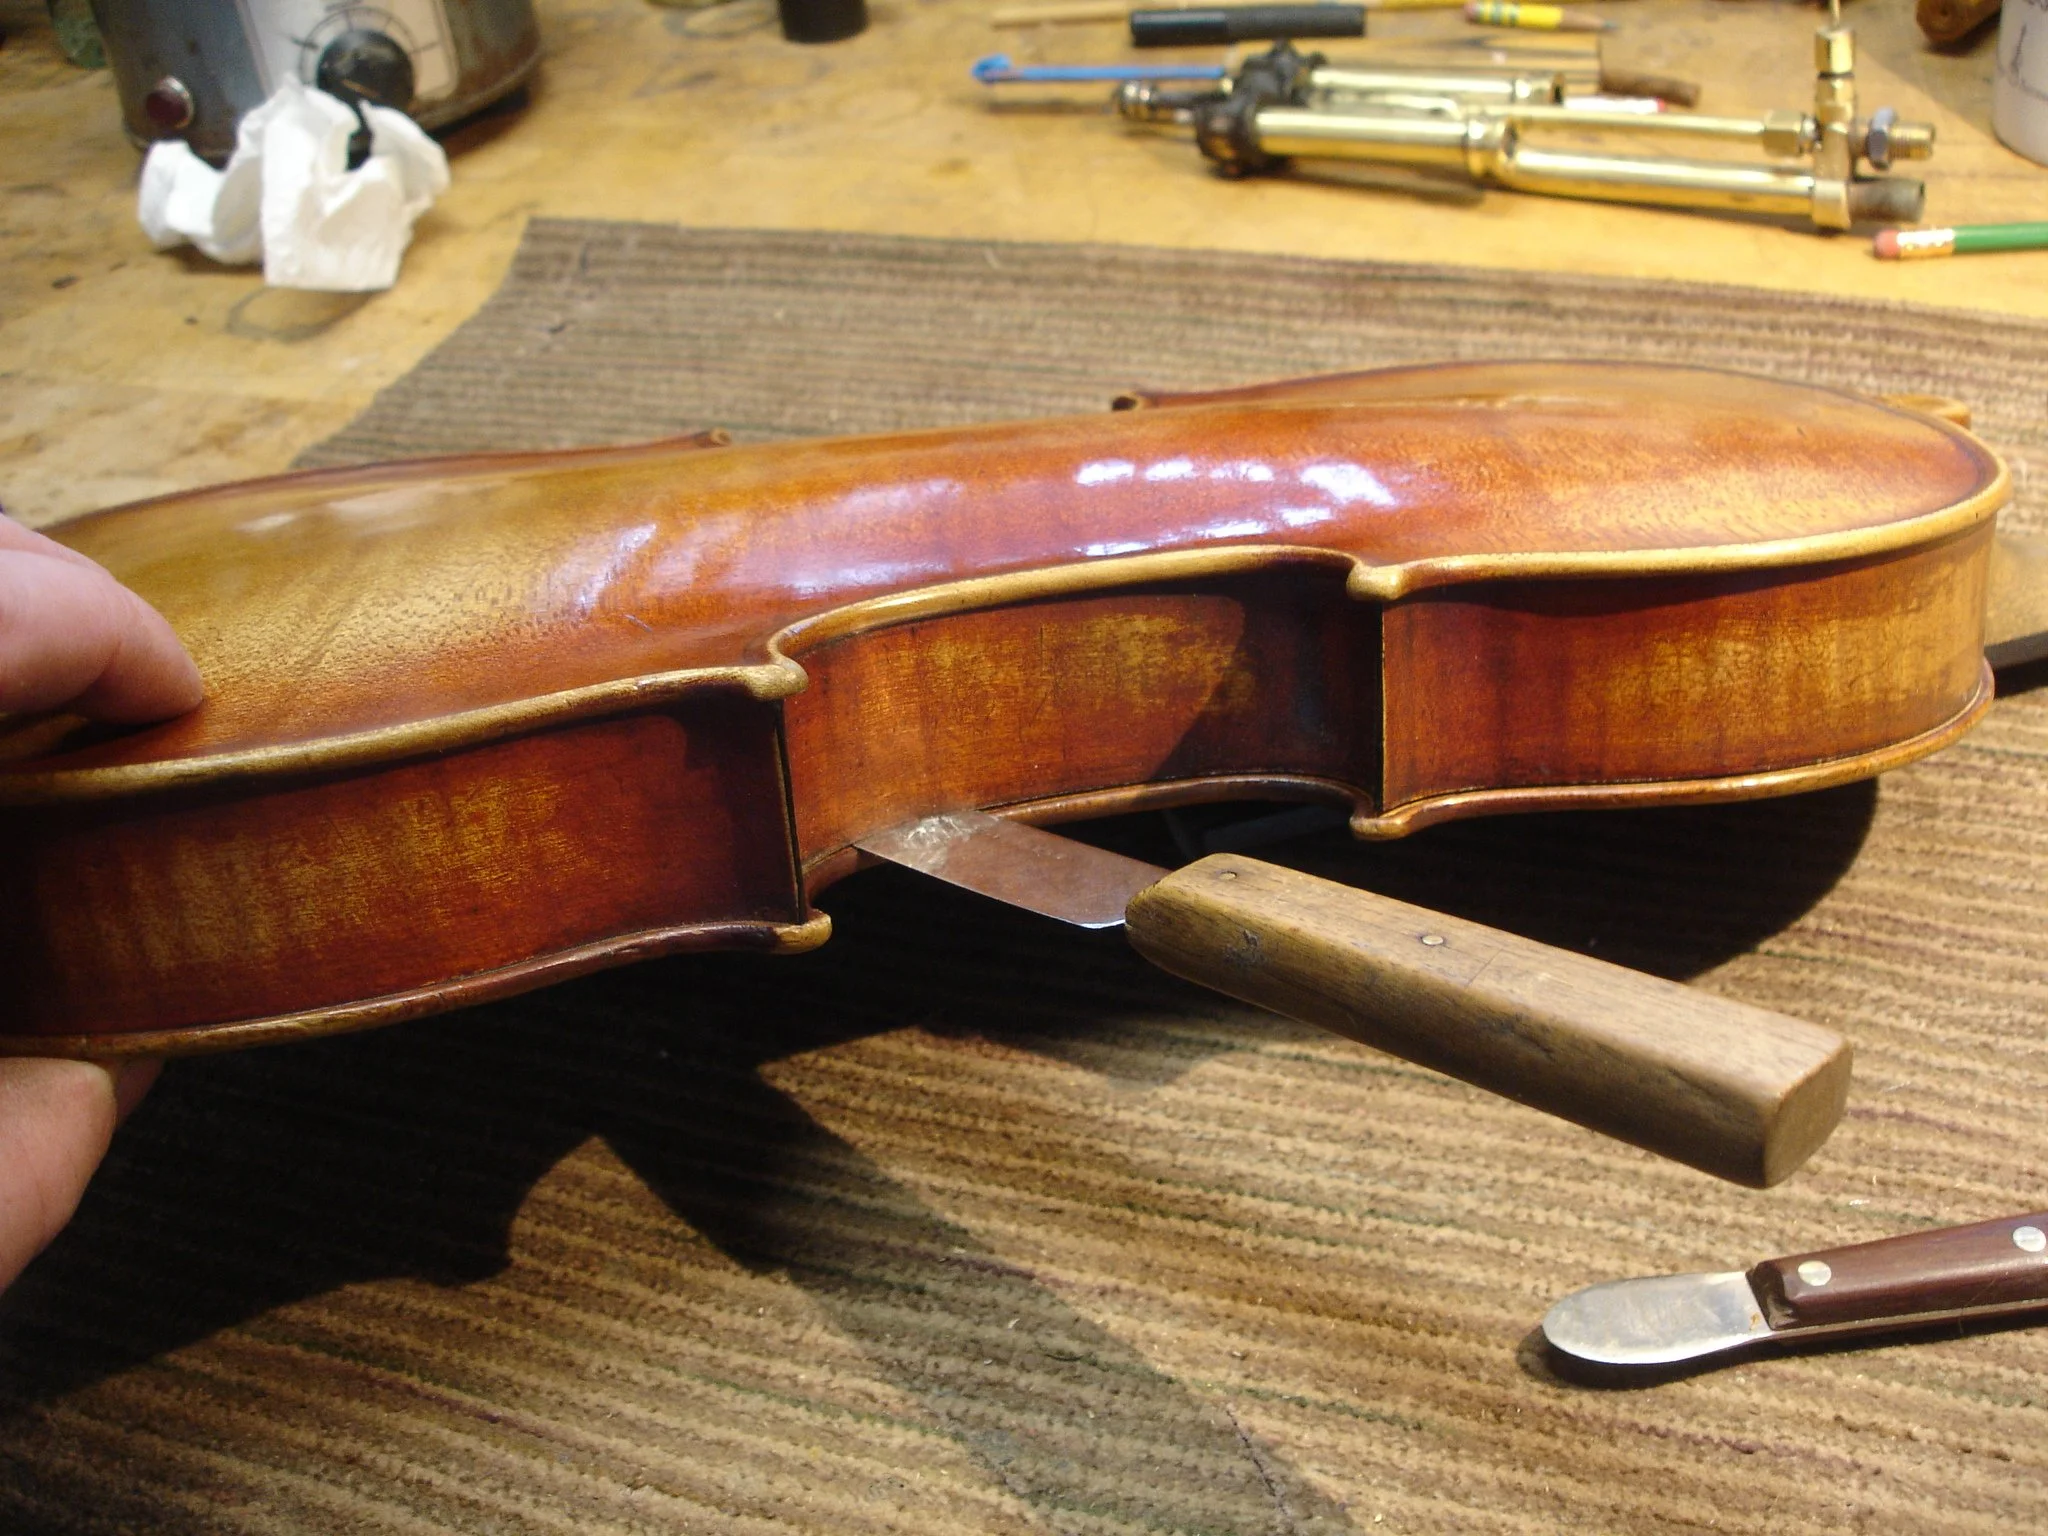
Stentor Vuillaume top removal
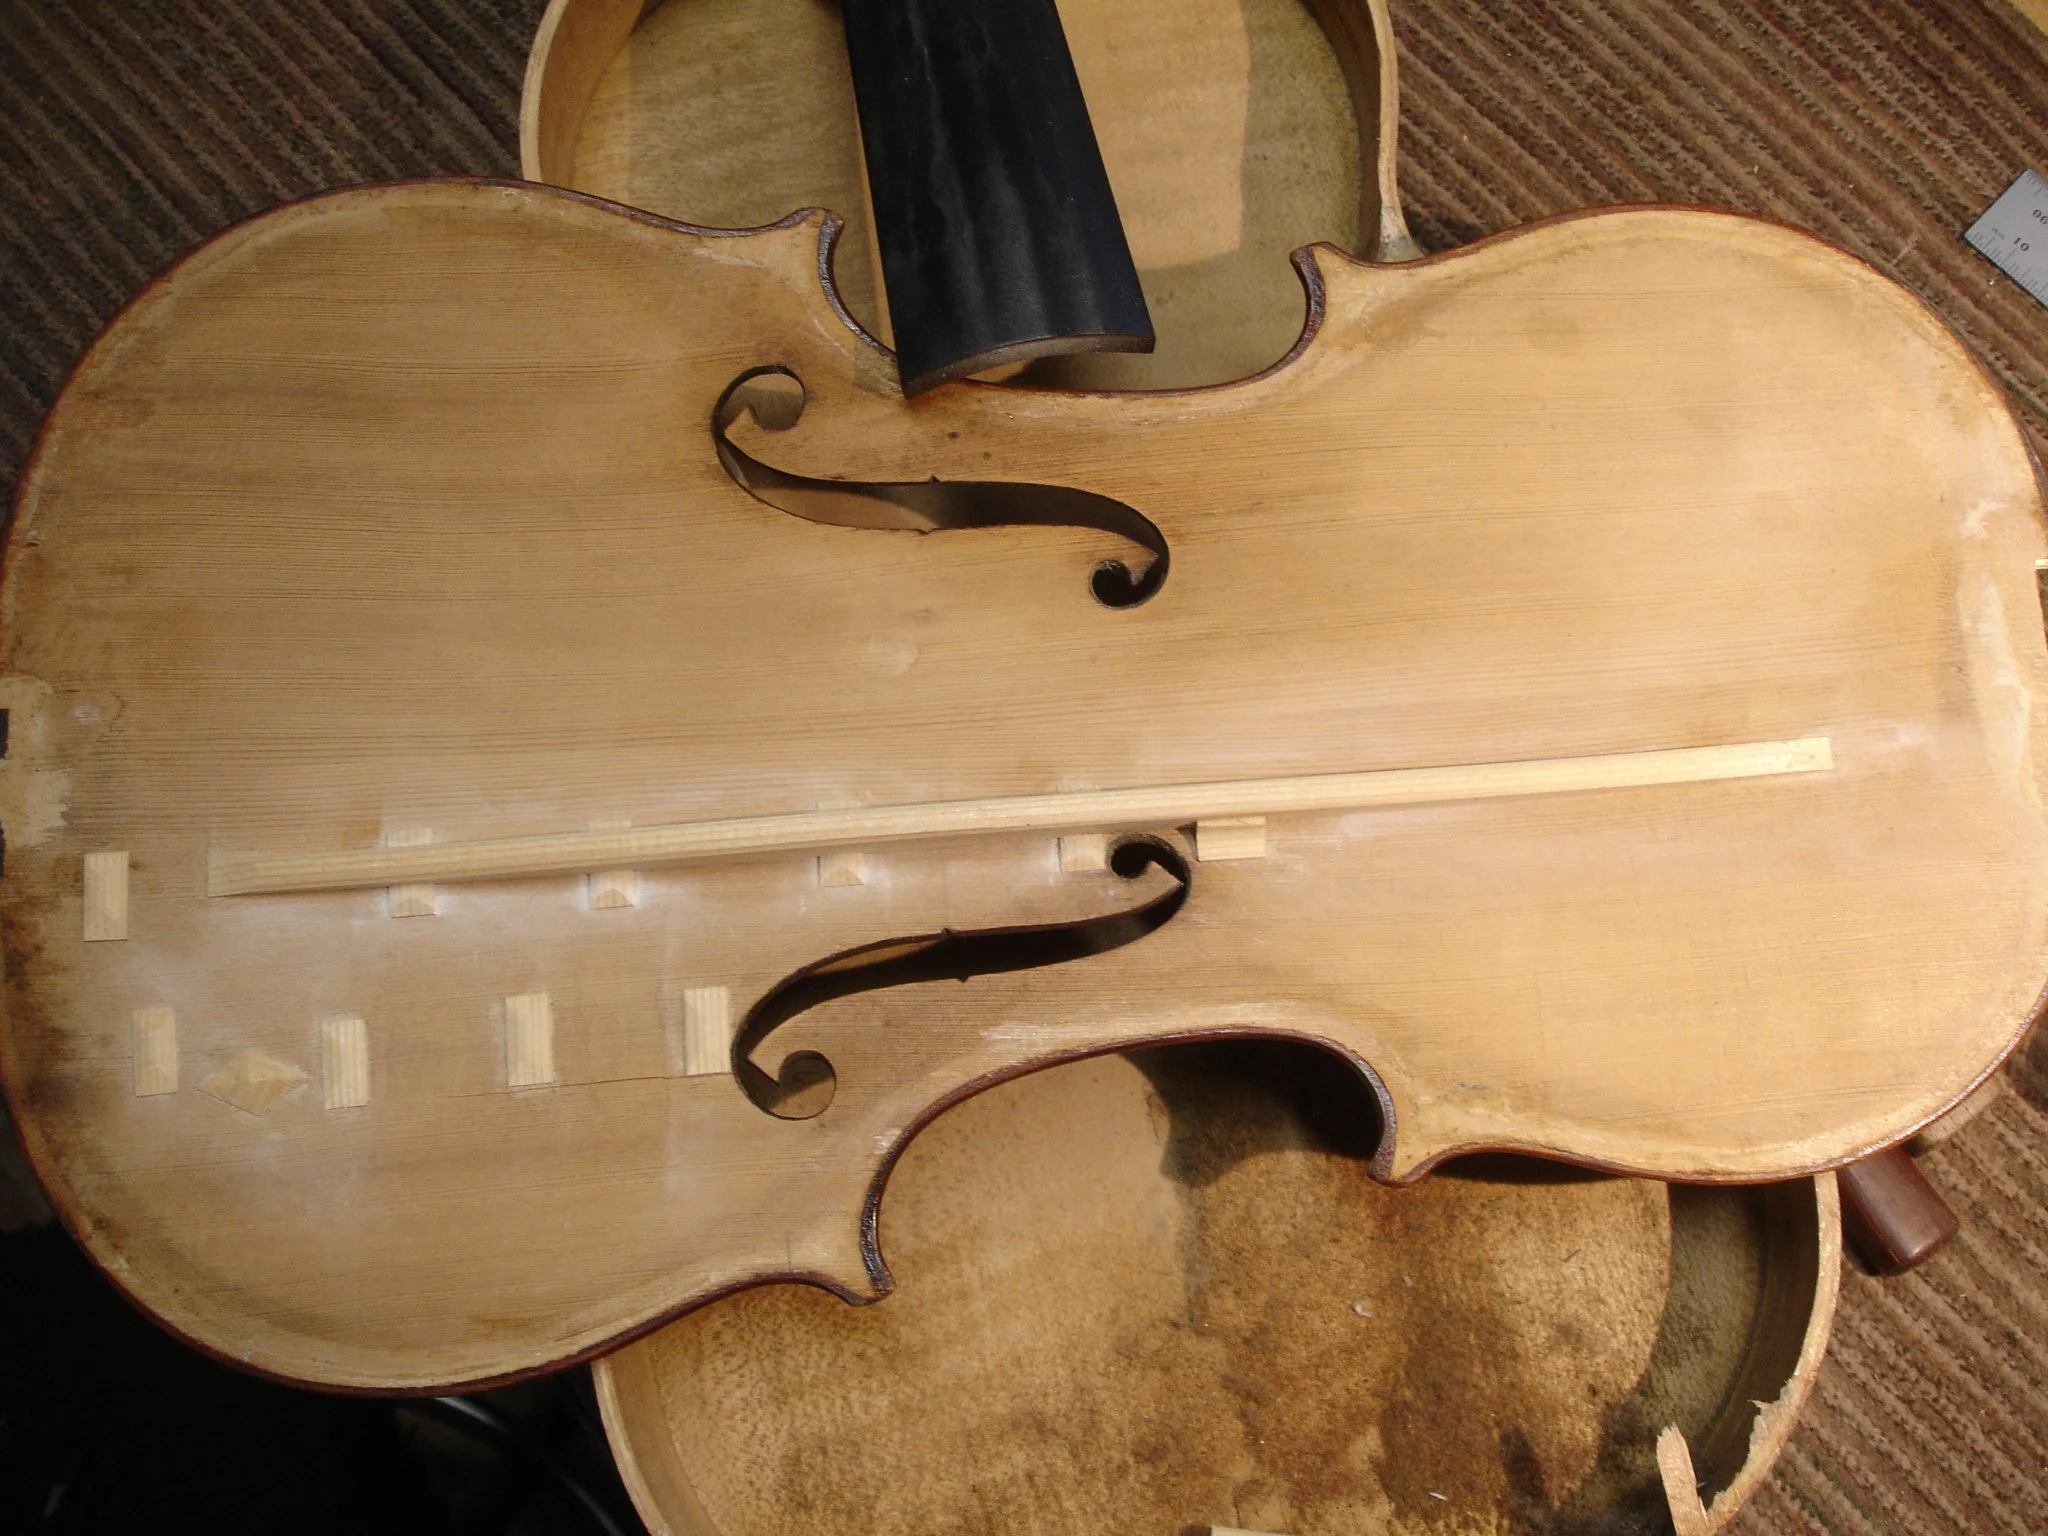
Stentor Vuillaume top crack interior.
Notice how the crack runs along the edges of cleats reinforcing another crack. This is common.

Interior of Stentor Vuillaume
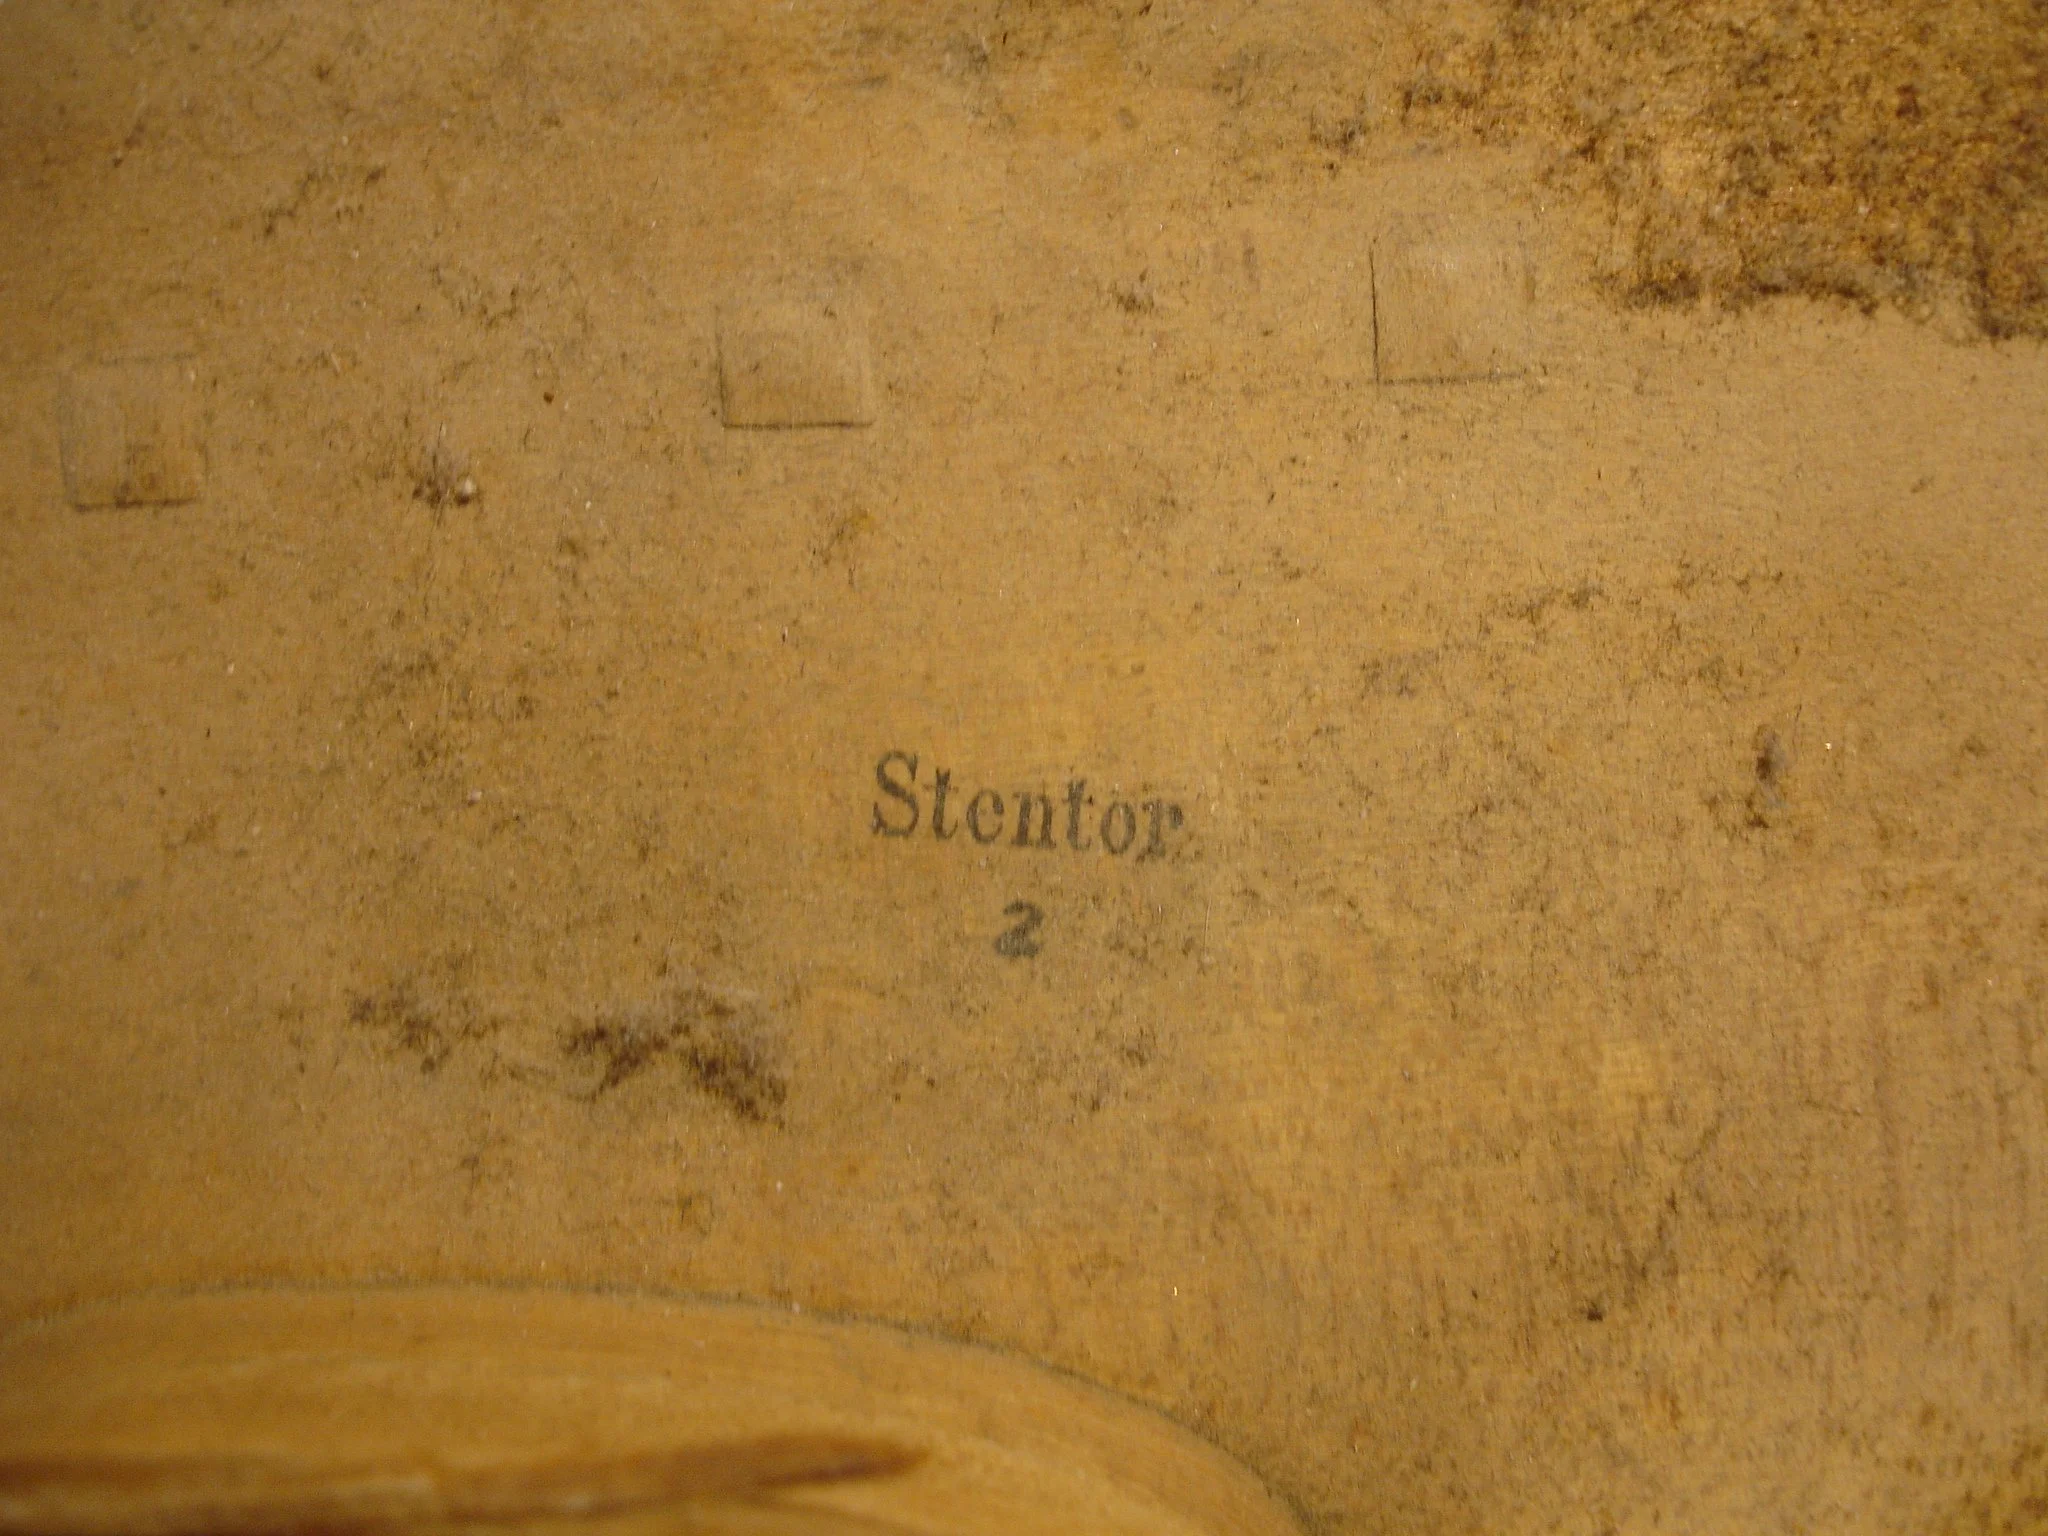
Stentor Vuillaume brand

Stentor Vuillaume top crack

Stentor Vuillaume top crack repair
The old cleats are removed that are next to the crack.

Stentor Vuillaume crack repair
The old cleats are carved down to a thin film of wood, then the remainder is carefully moistened to remove the rest of the cleat.


Stentor crack repair
Old cleats moistened for removal
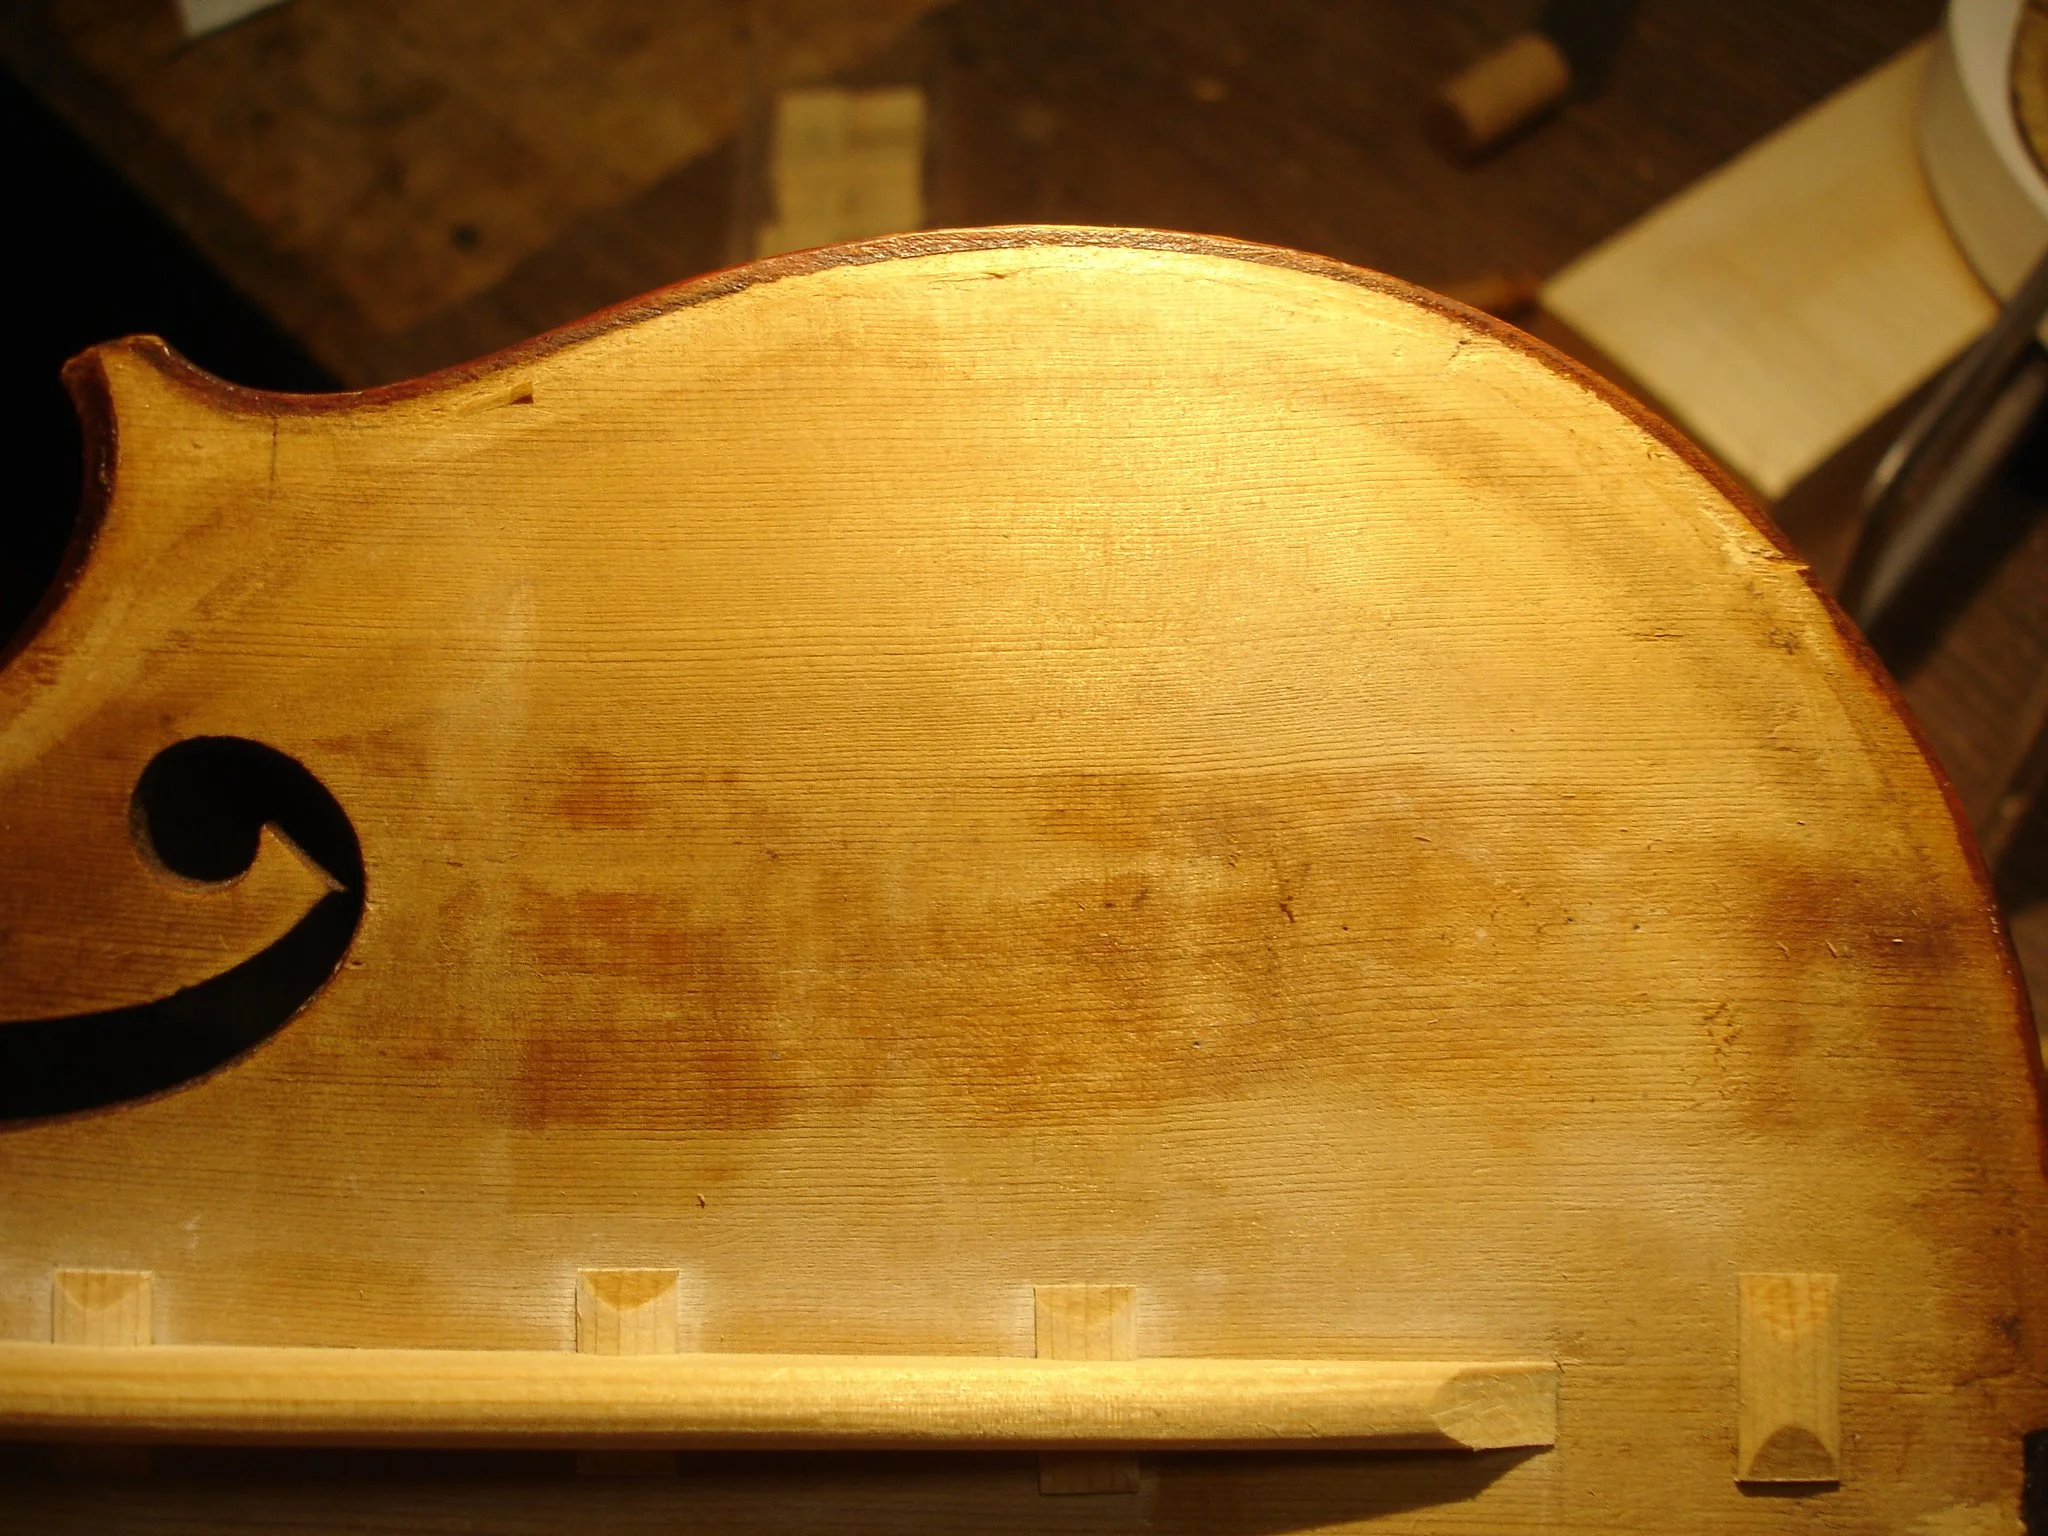
Stentor crack repair
All traces of the old cleats are removed

Stentor crack repair
The top crack is glued closed

Stentor crack repair
Crack is glued

Stentor crack repair
Chalk is used to determine where the new and previously existing cracks are located.
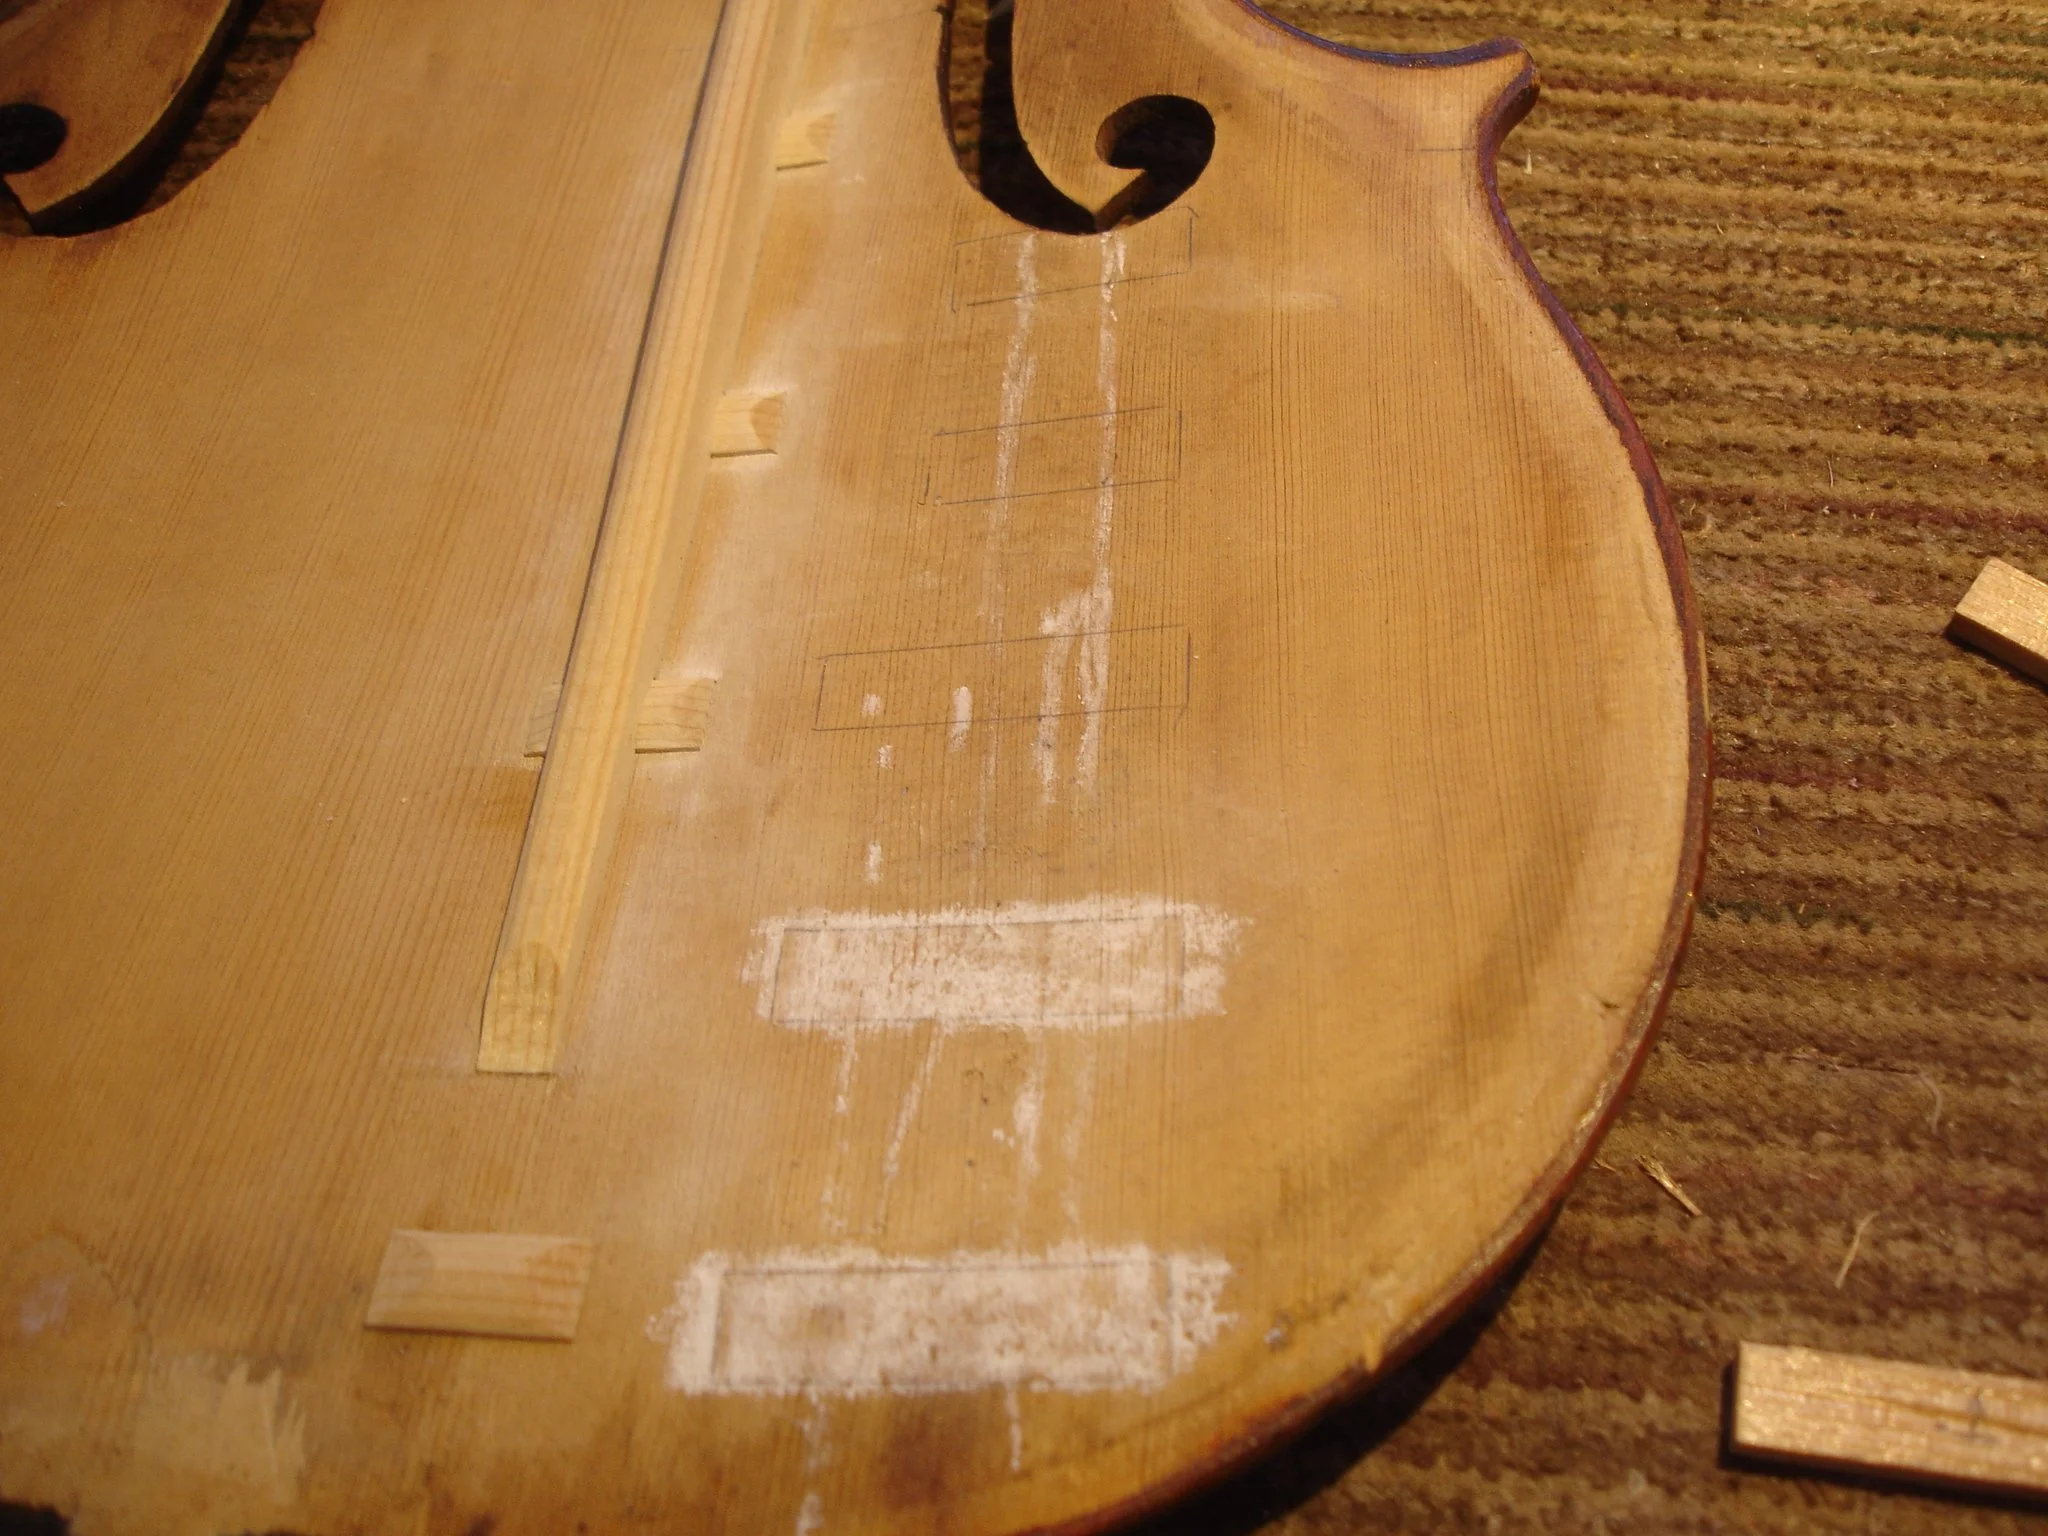
Stentor crack repair
New cleats are fitted to reinforce the new and the old cracks

Stentor crack repair
New cleats fitted

Stentor crack repair
Gluing of cleats
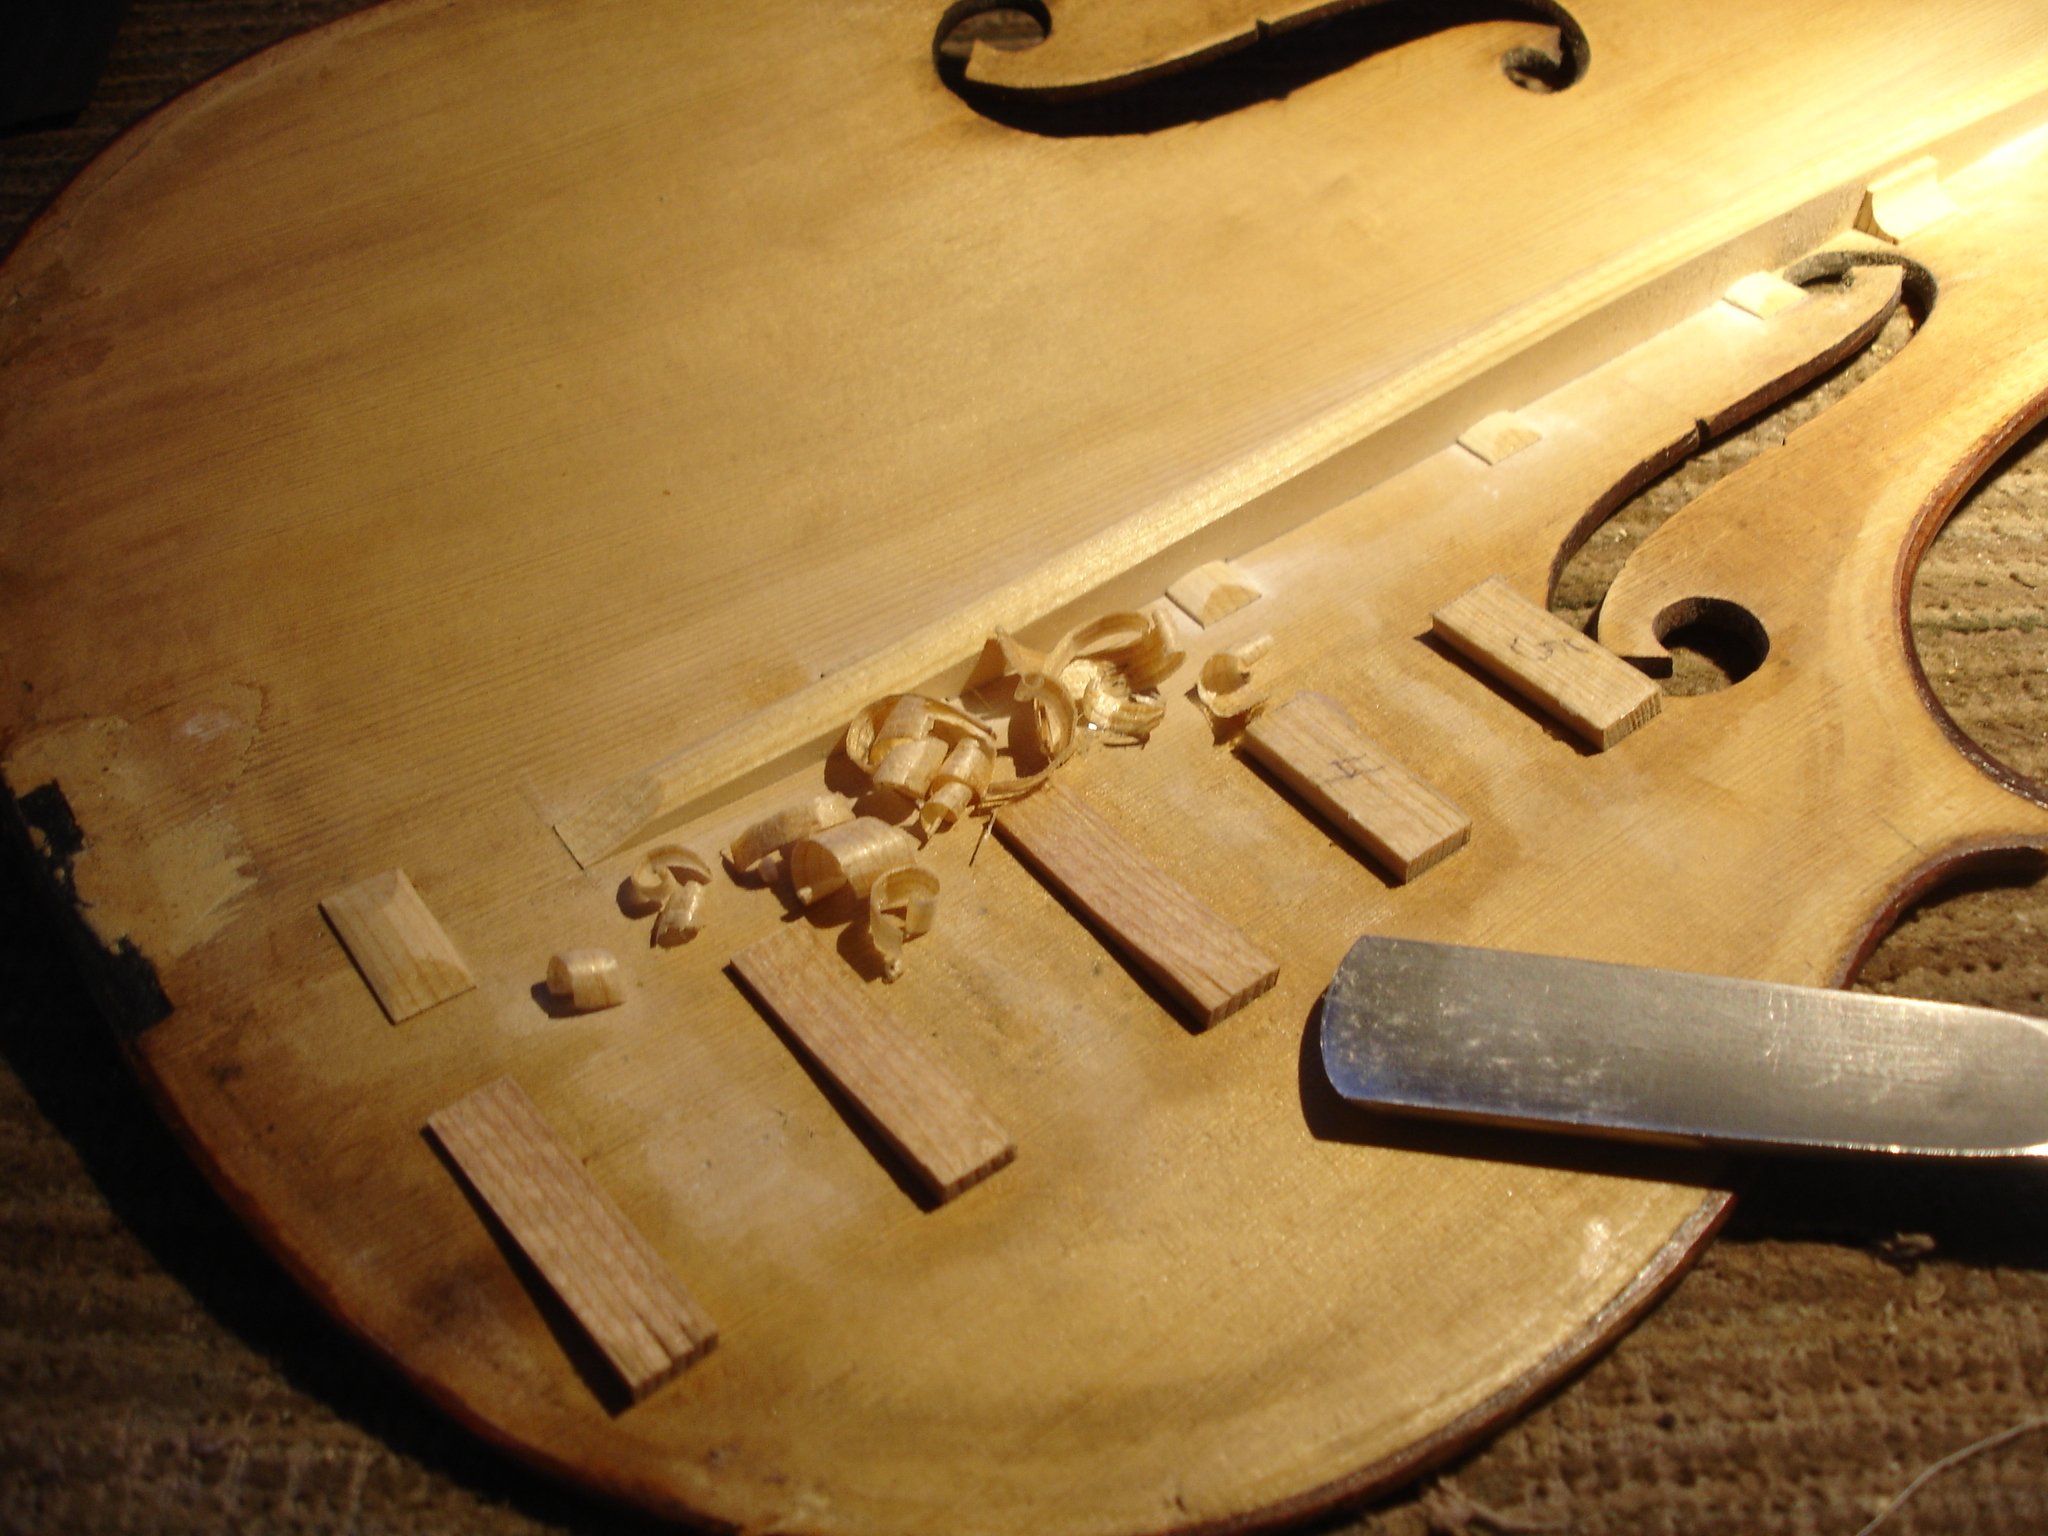
Stentor crack repair
New cleats are carved to proper shape
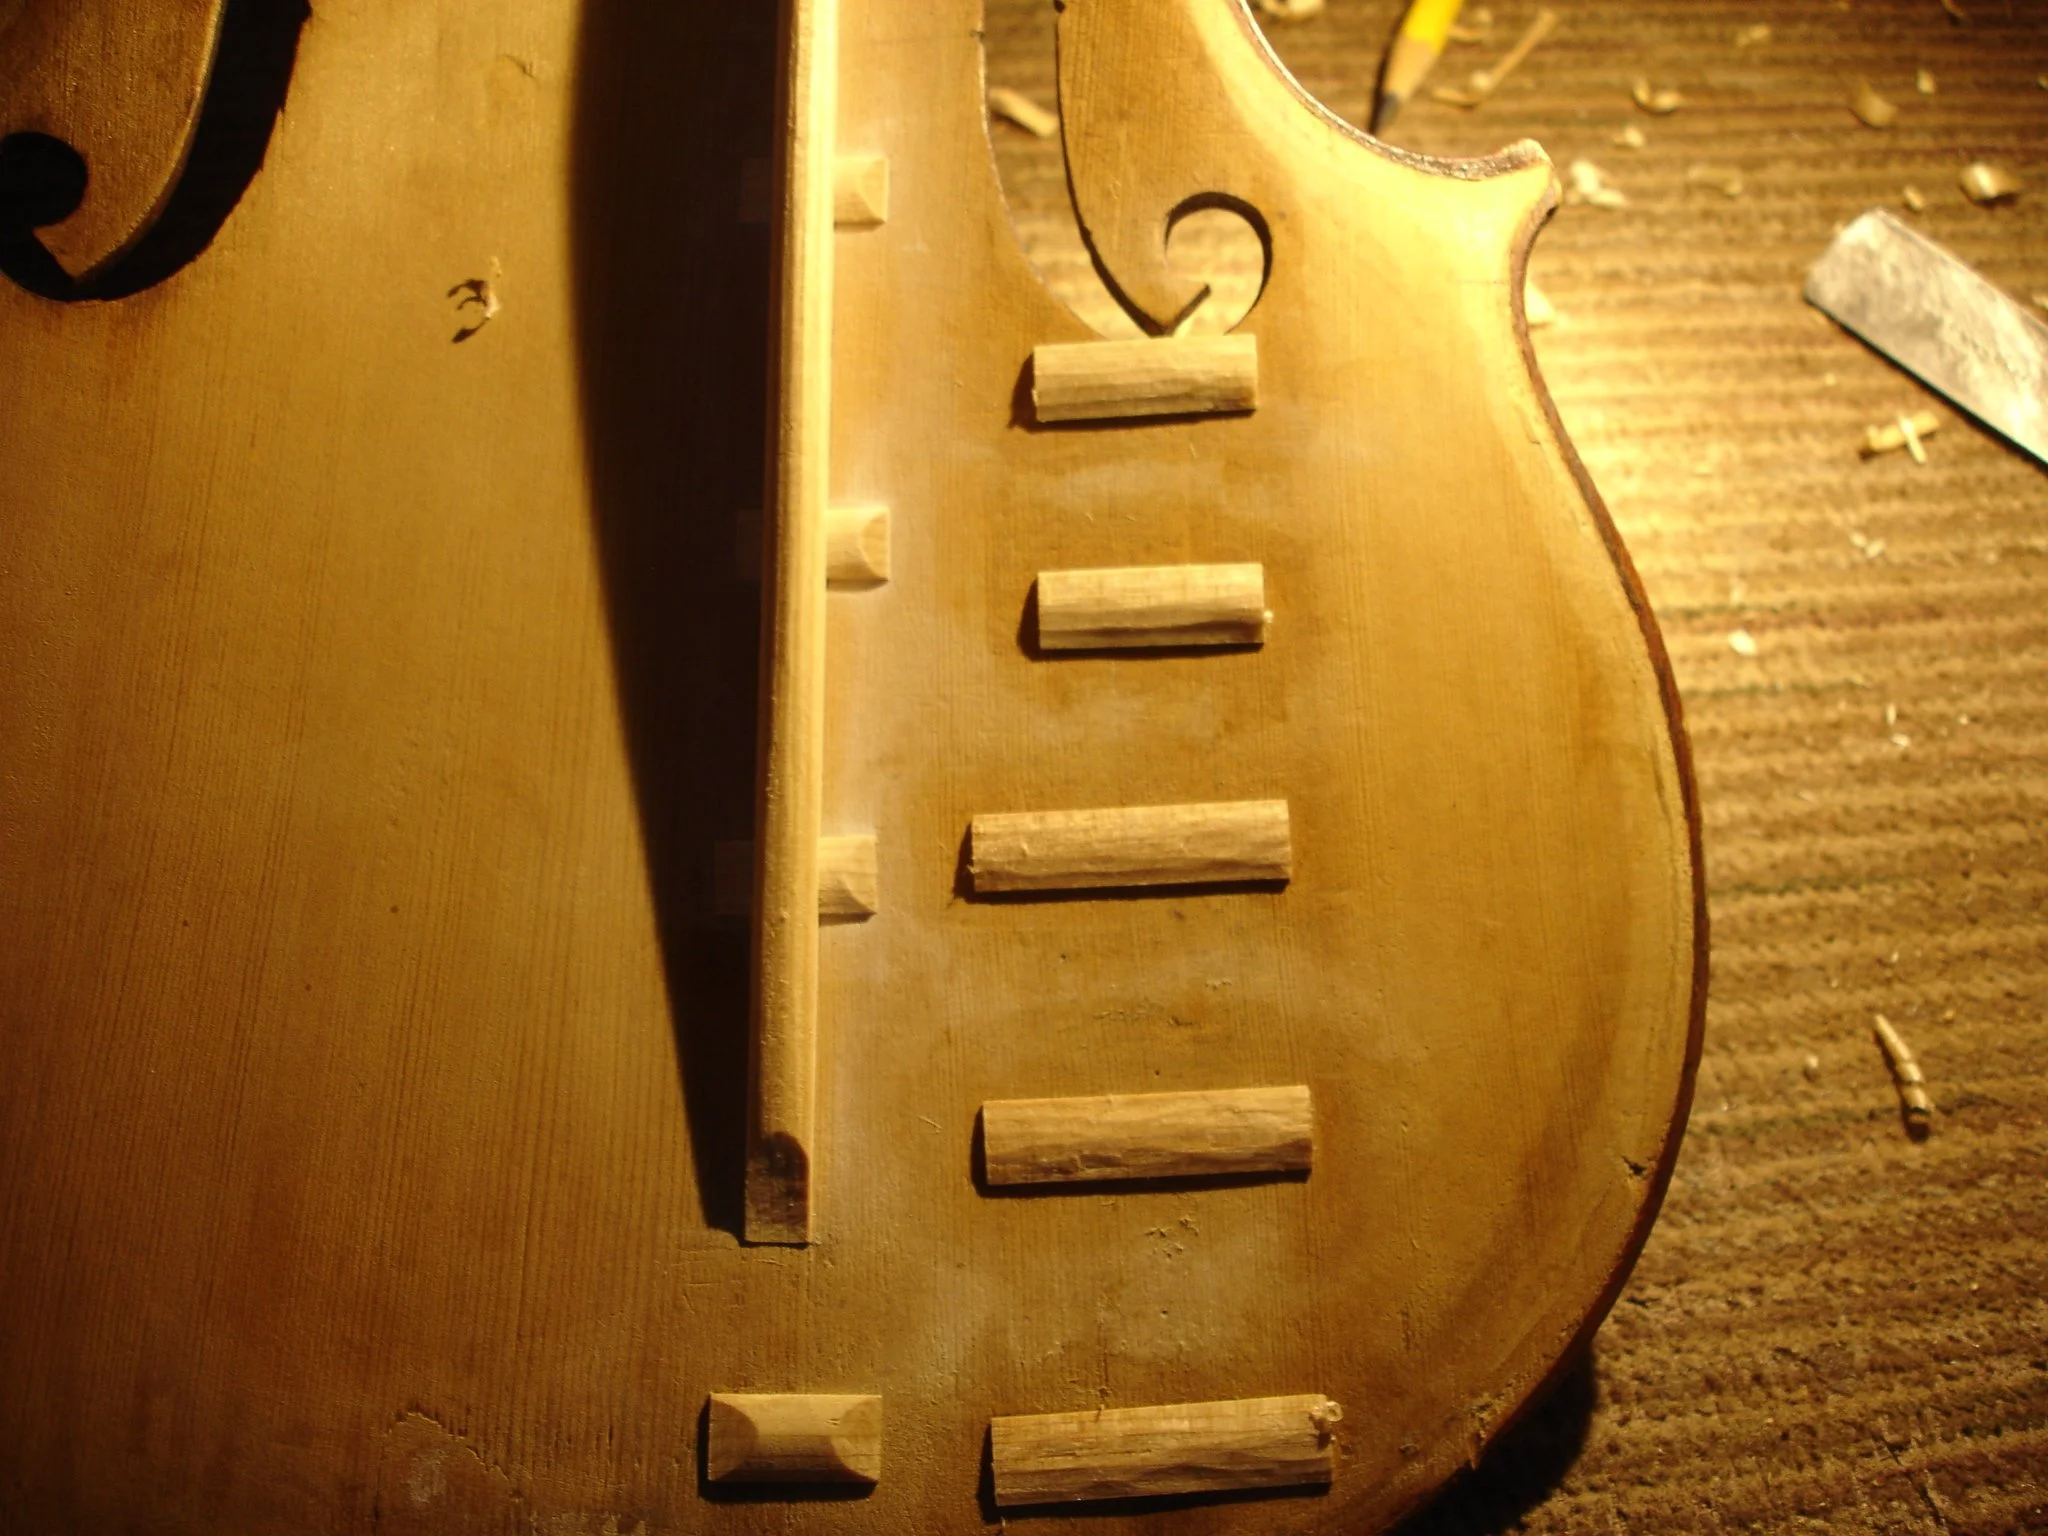
Stentor crack repair
Cleats are rounded

Stentor crack repair
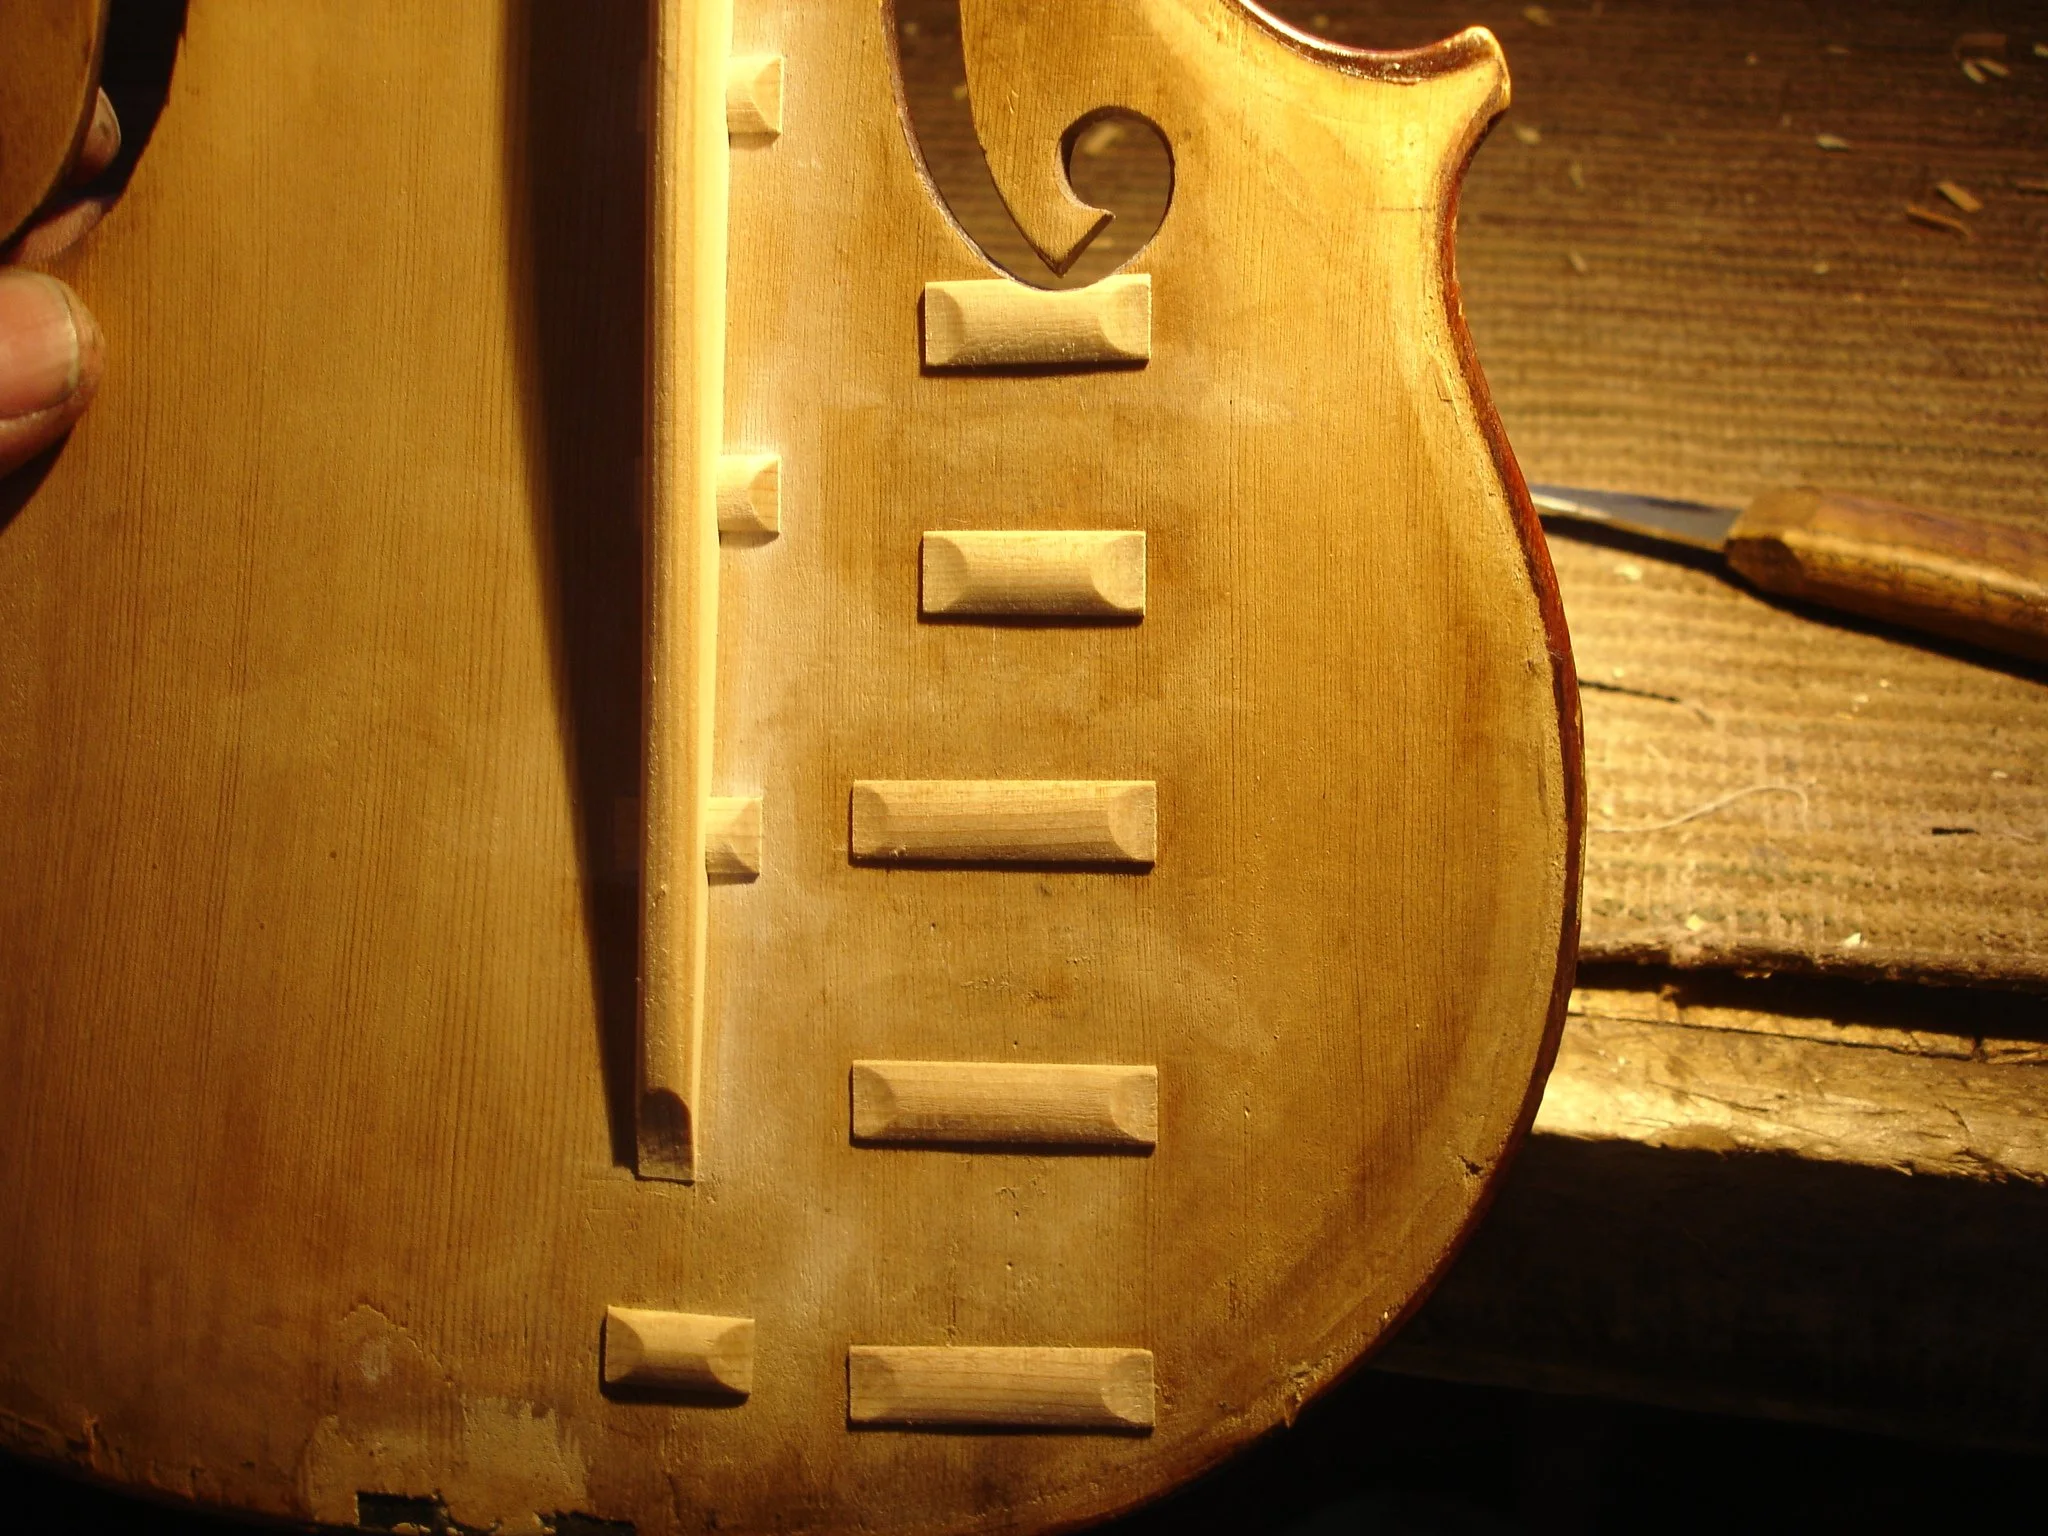
Cleats are scarfed at the ends
Stentor crack repair
Finished cleats

Stentor crack repair
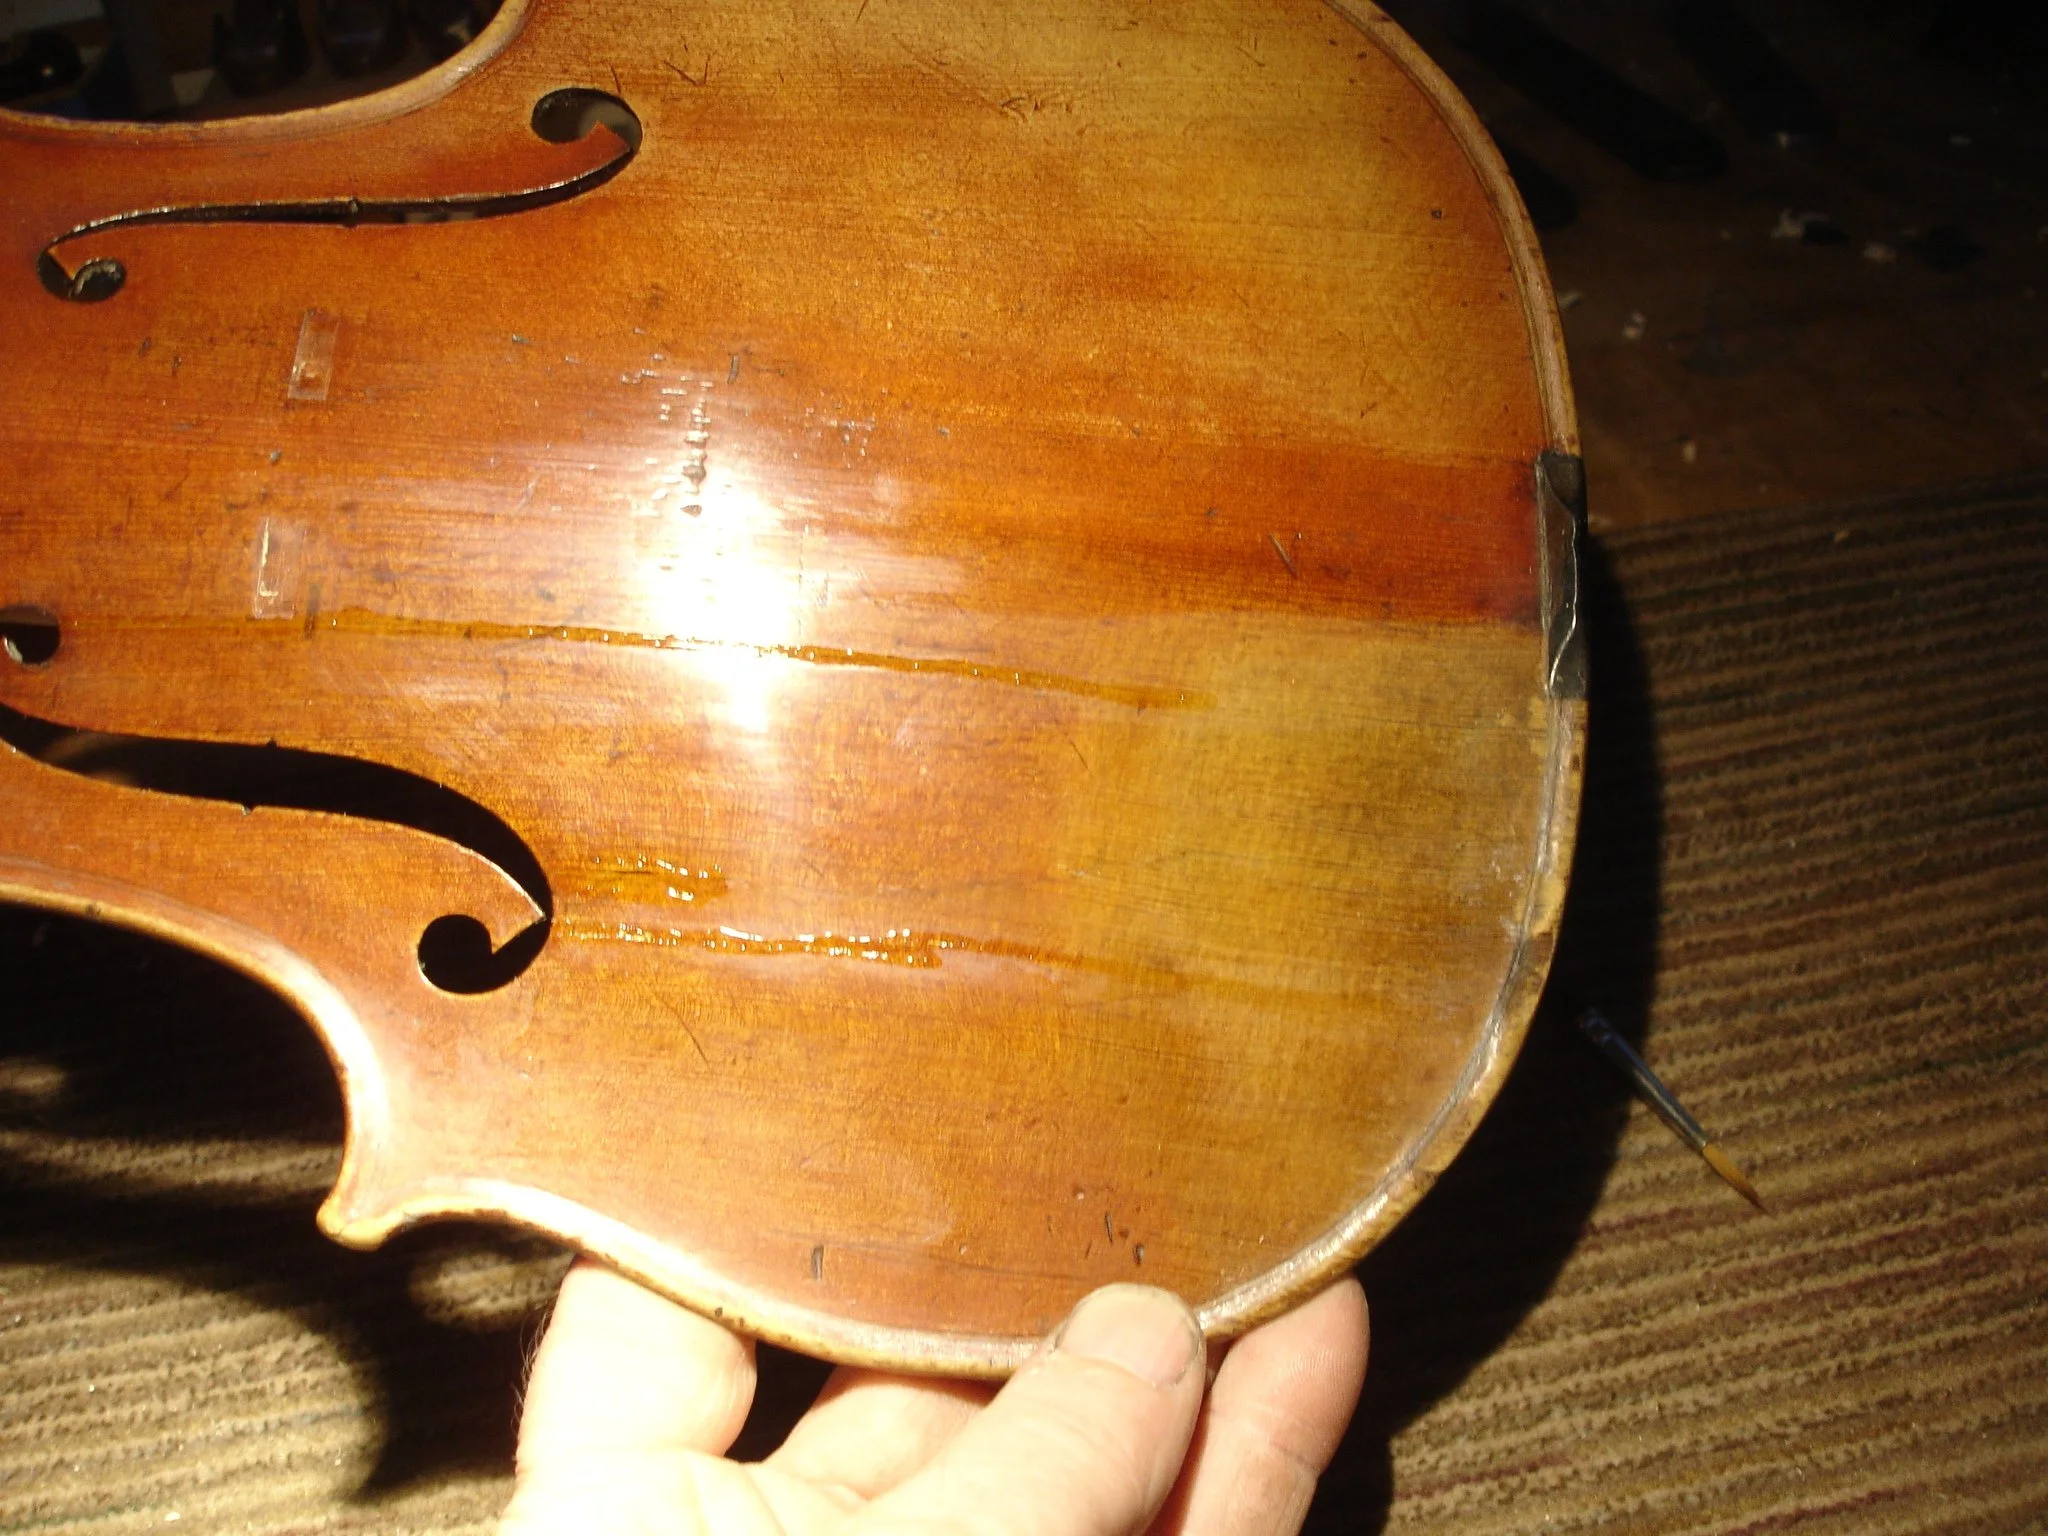
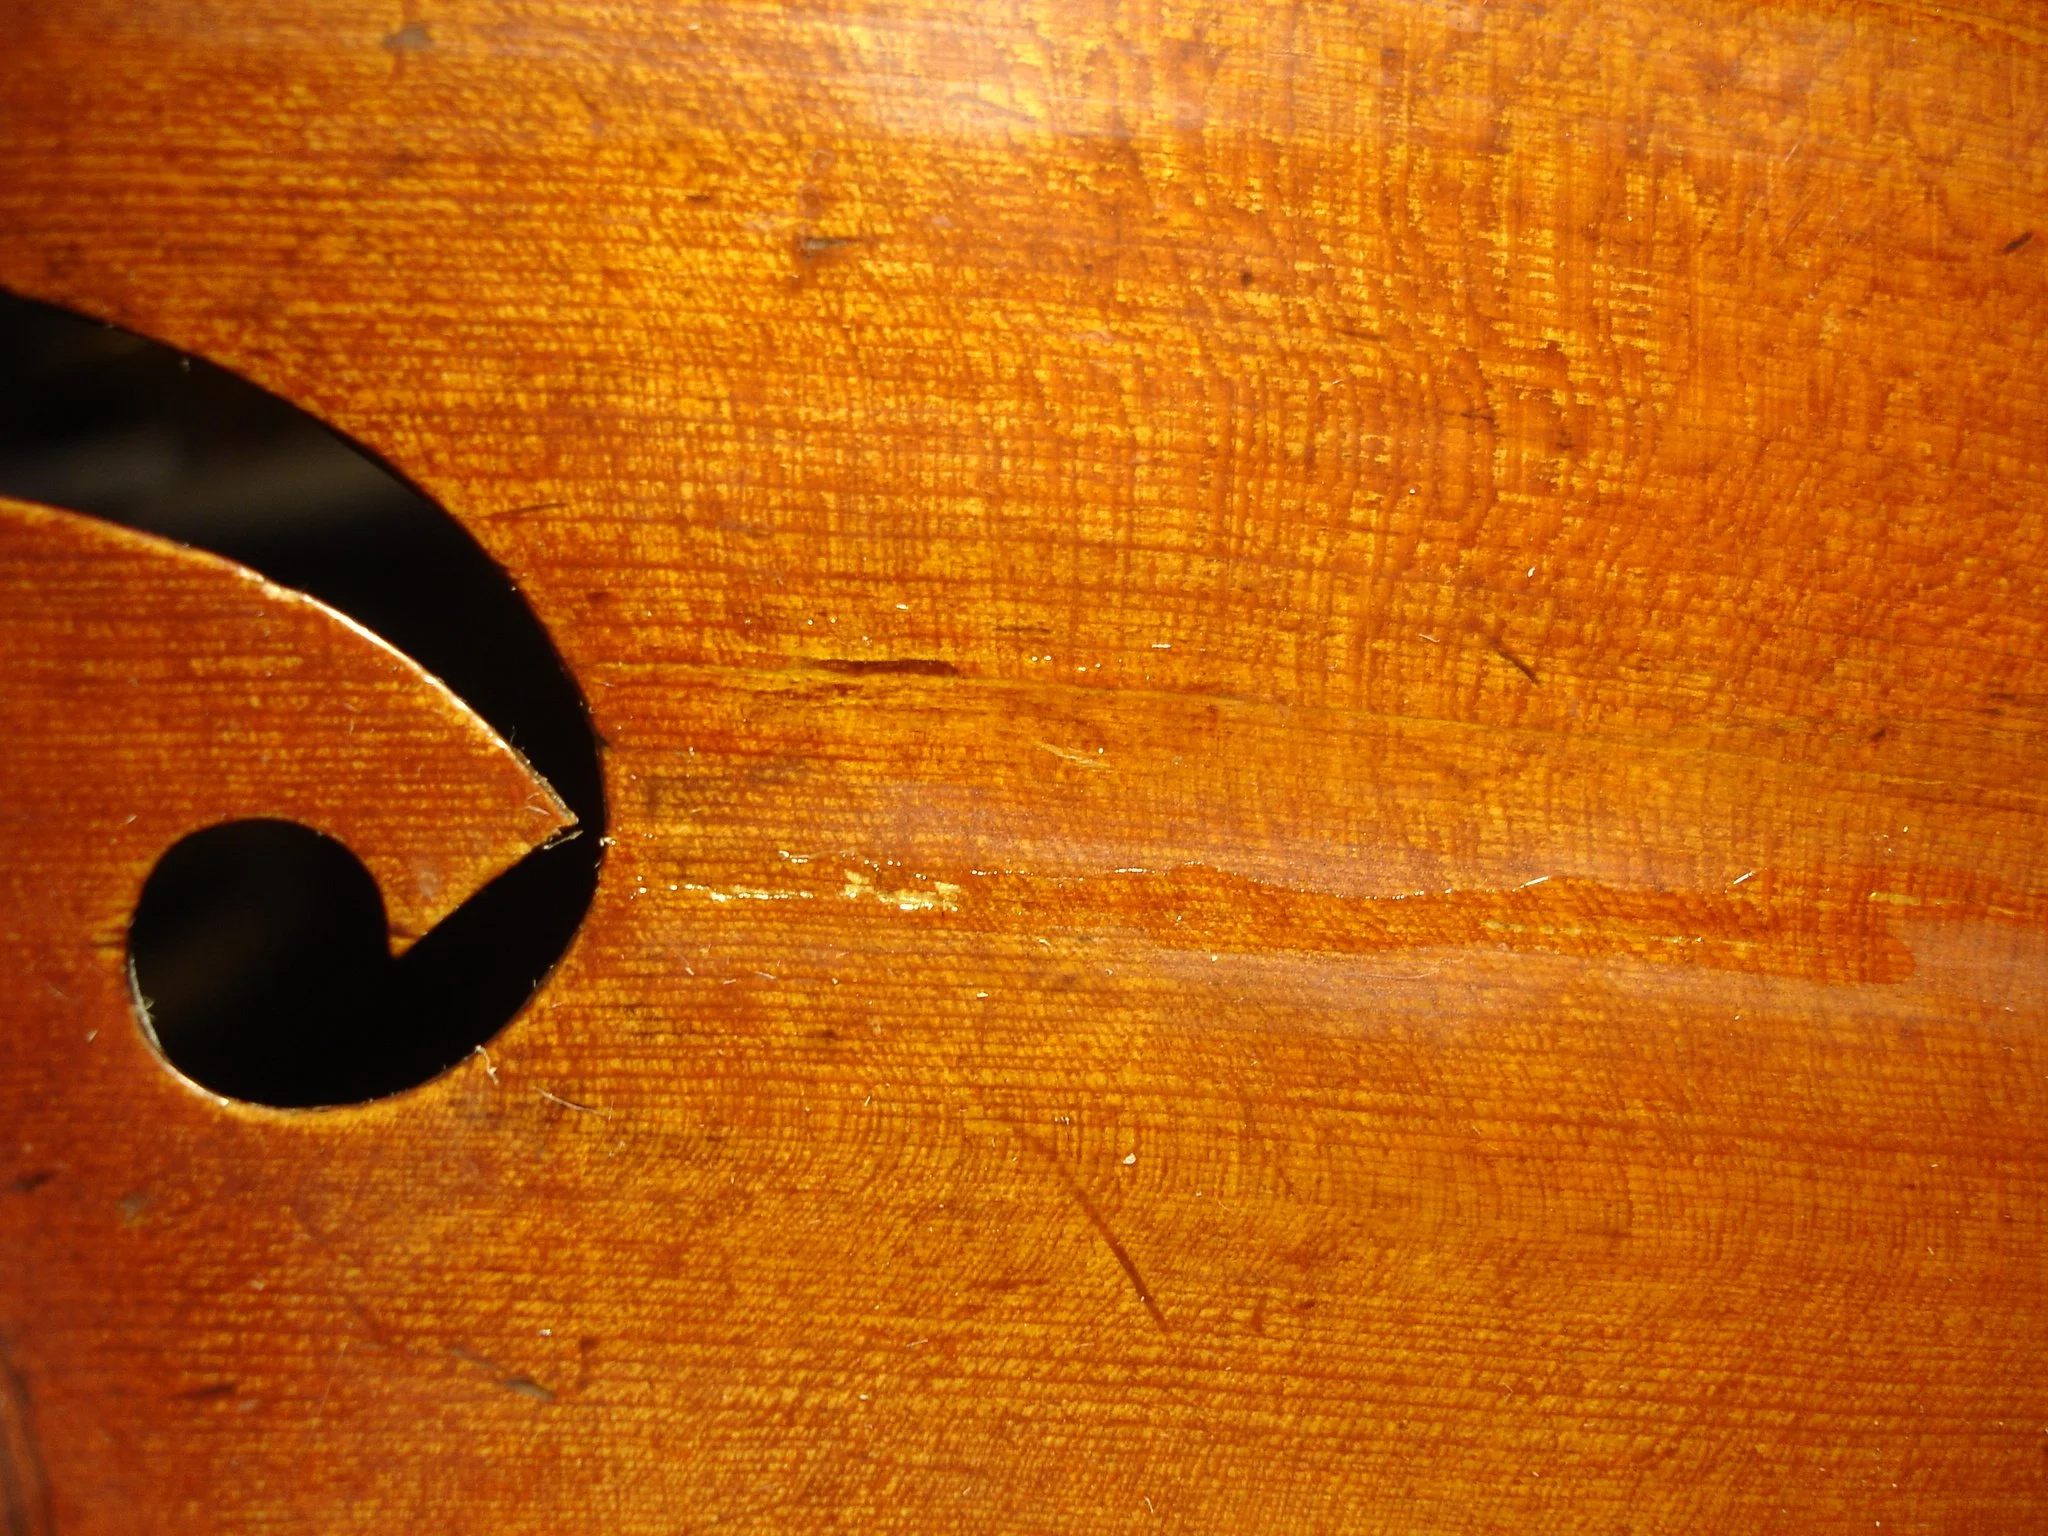
The cracks are filled with a clear retouch varnish. This process may take several applications over the period of several days until the cracks have been filled
Stentor crack repair
Not only was the wood cracked, but the varnish was cracked as well. Filling the cracked varnish provides an homogenous surface for adding color and texture to make the crack disappear.

Stentor crack repair
The filler varnish is scraped to level it to the surface of the original varnish

Stentor crack repair
The leveled filler varnish is smoothed to blend in with the original varnish.

Stentor crack repair
The top is now ready to add color to the varnish.

Stentor crack repair
Under UV light, cracks and repairs can easily be seen.
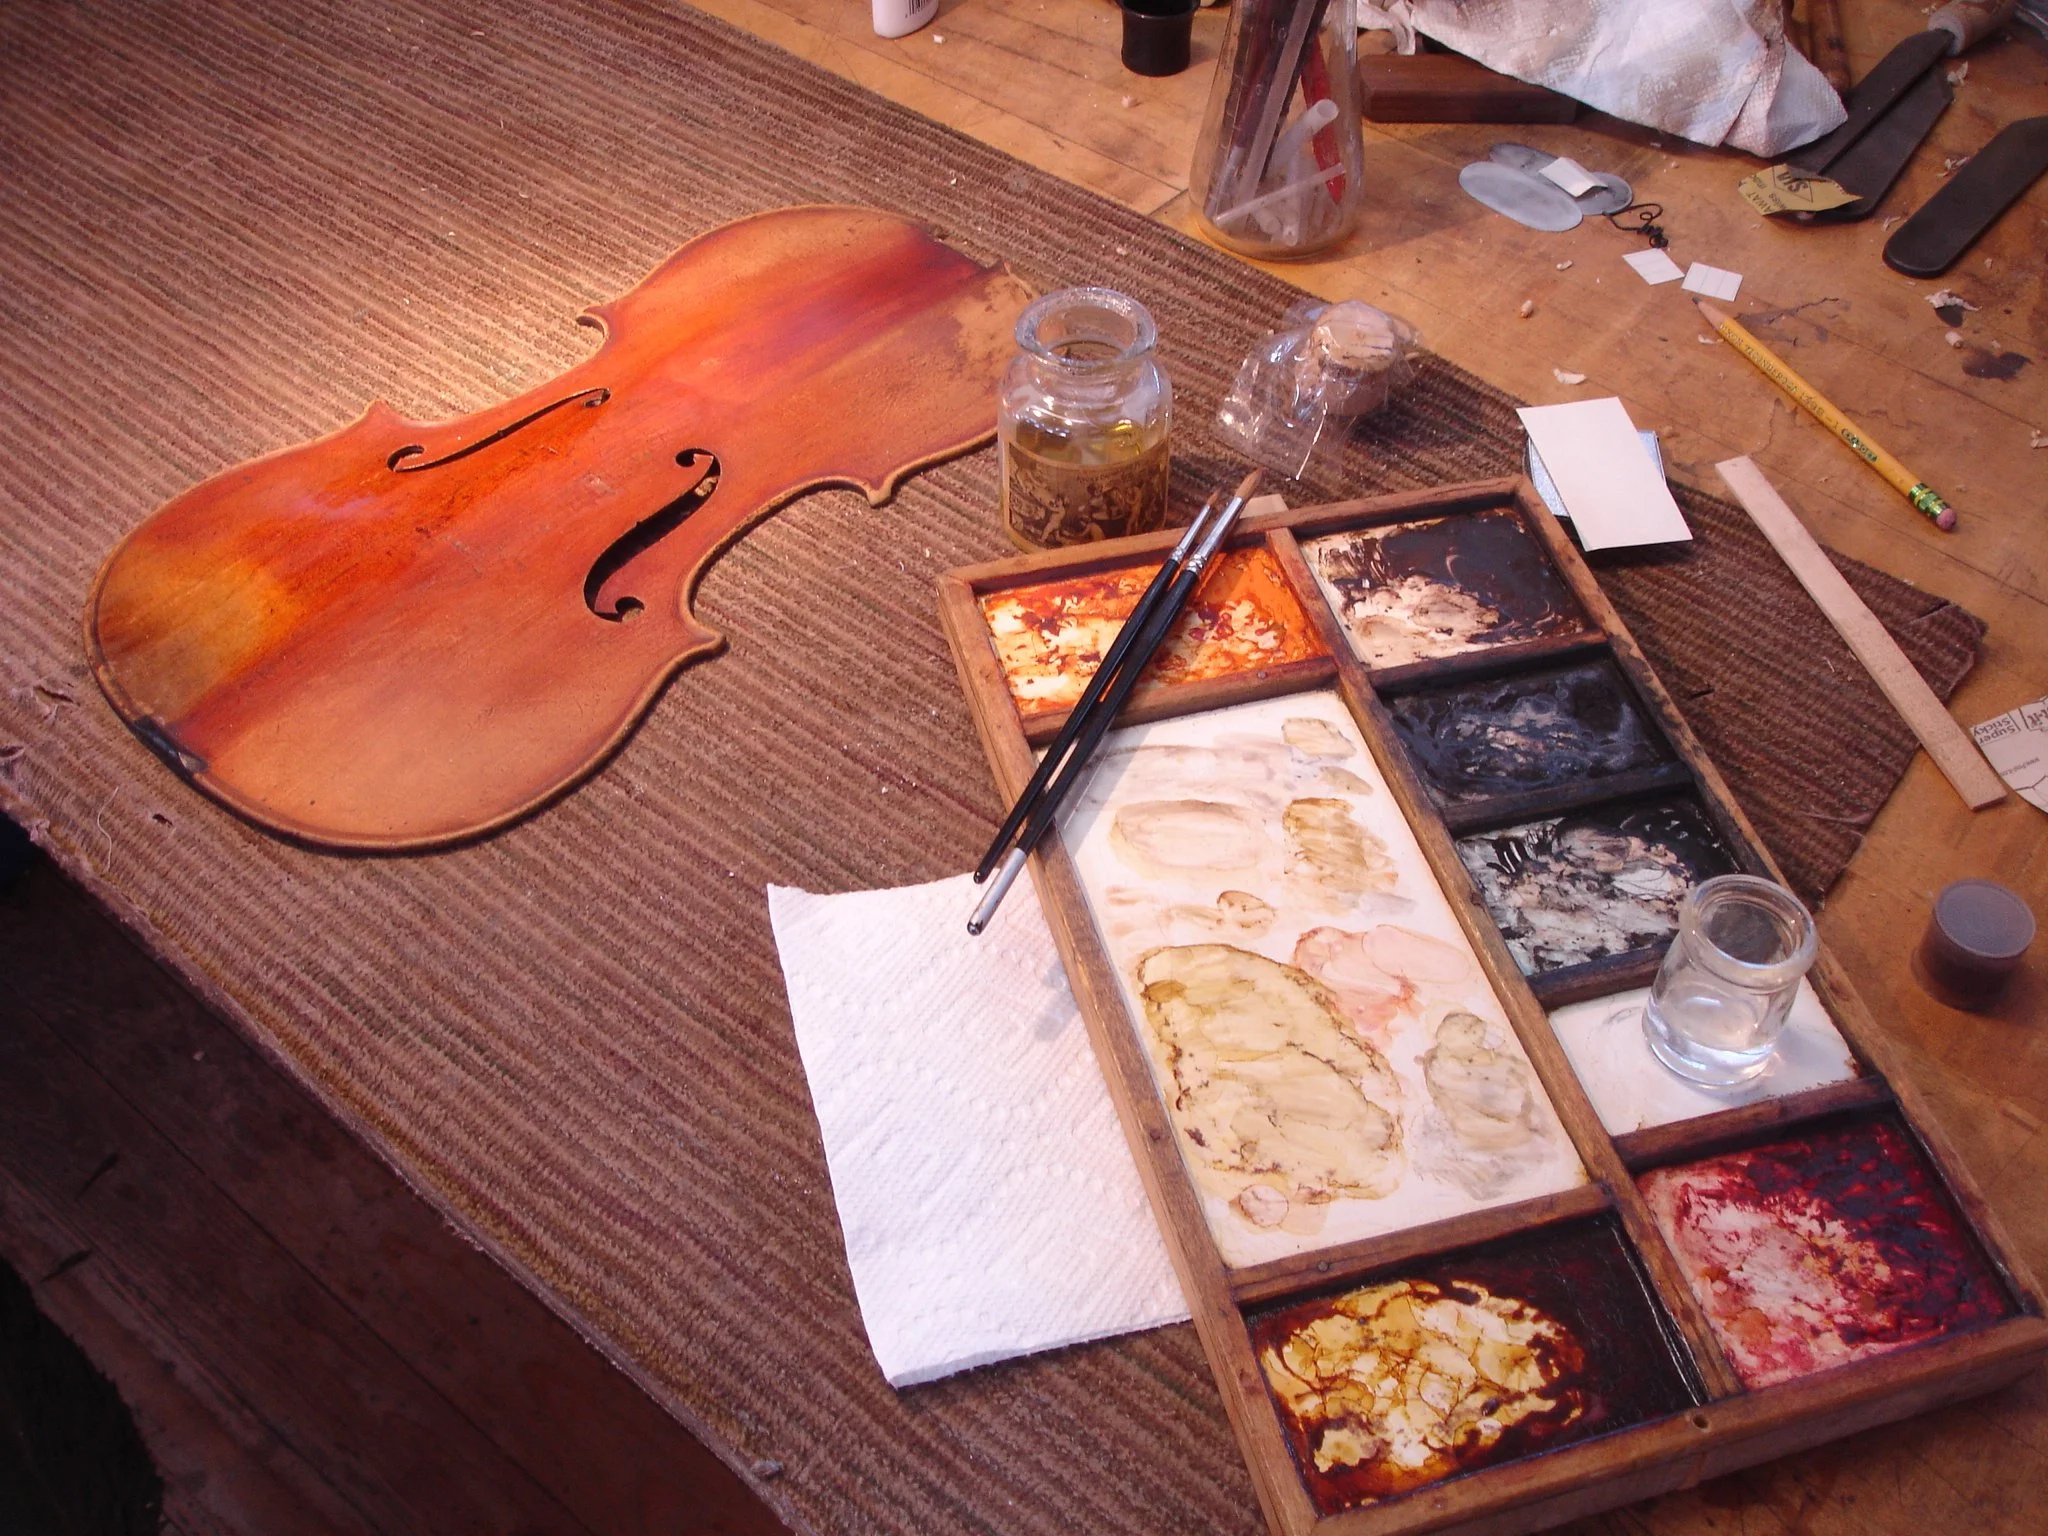
Color board, brushes and the top ready for final retouching.

Stentor crack repair
Color is added and then sealed with coats of retouch varnish. In this way, the retouching can be blended with the original varnish.

Stentor crack repair
Final coating of retouch varnish over color.

Stentor crack repair
Finished retouching. The retouch varnish is smoothed to conform to the texture of the original varnish… then polished to blend in the new with the old.
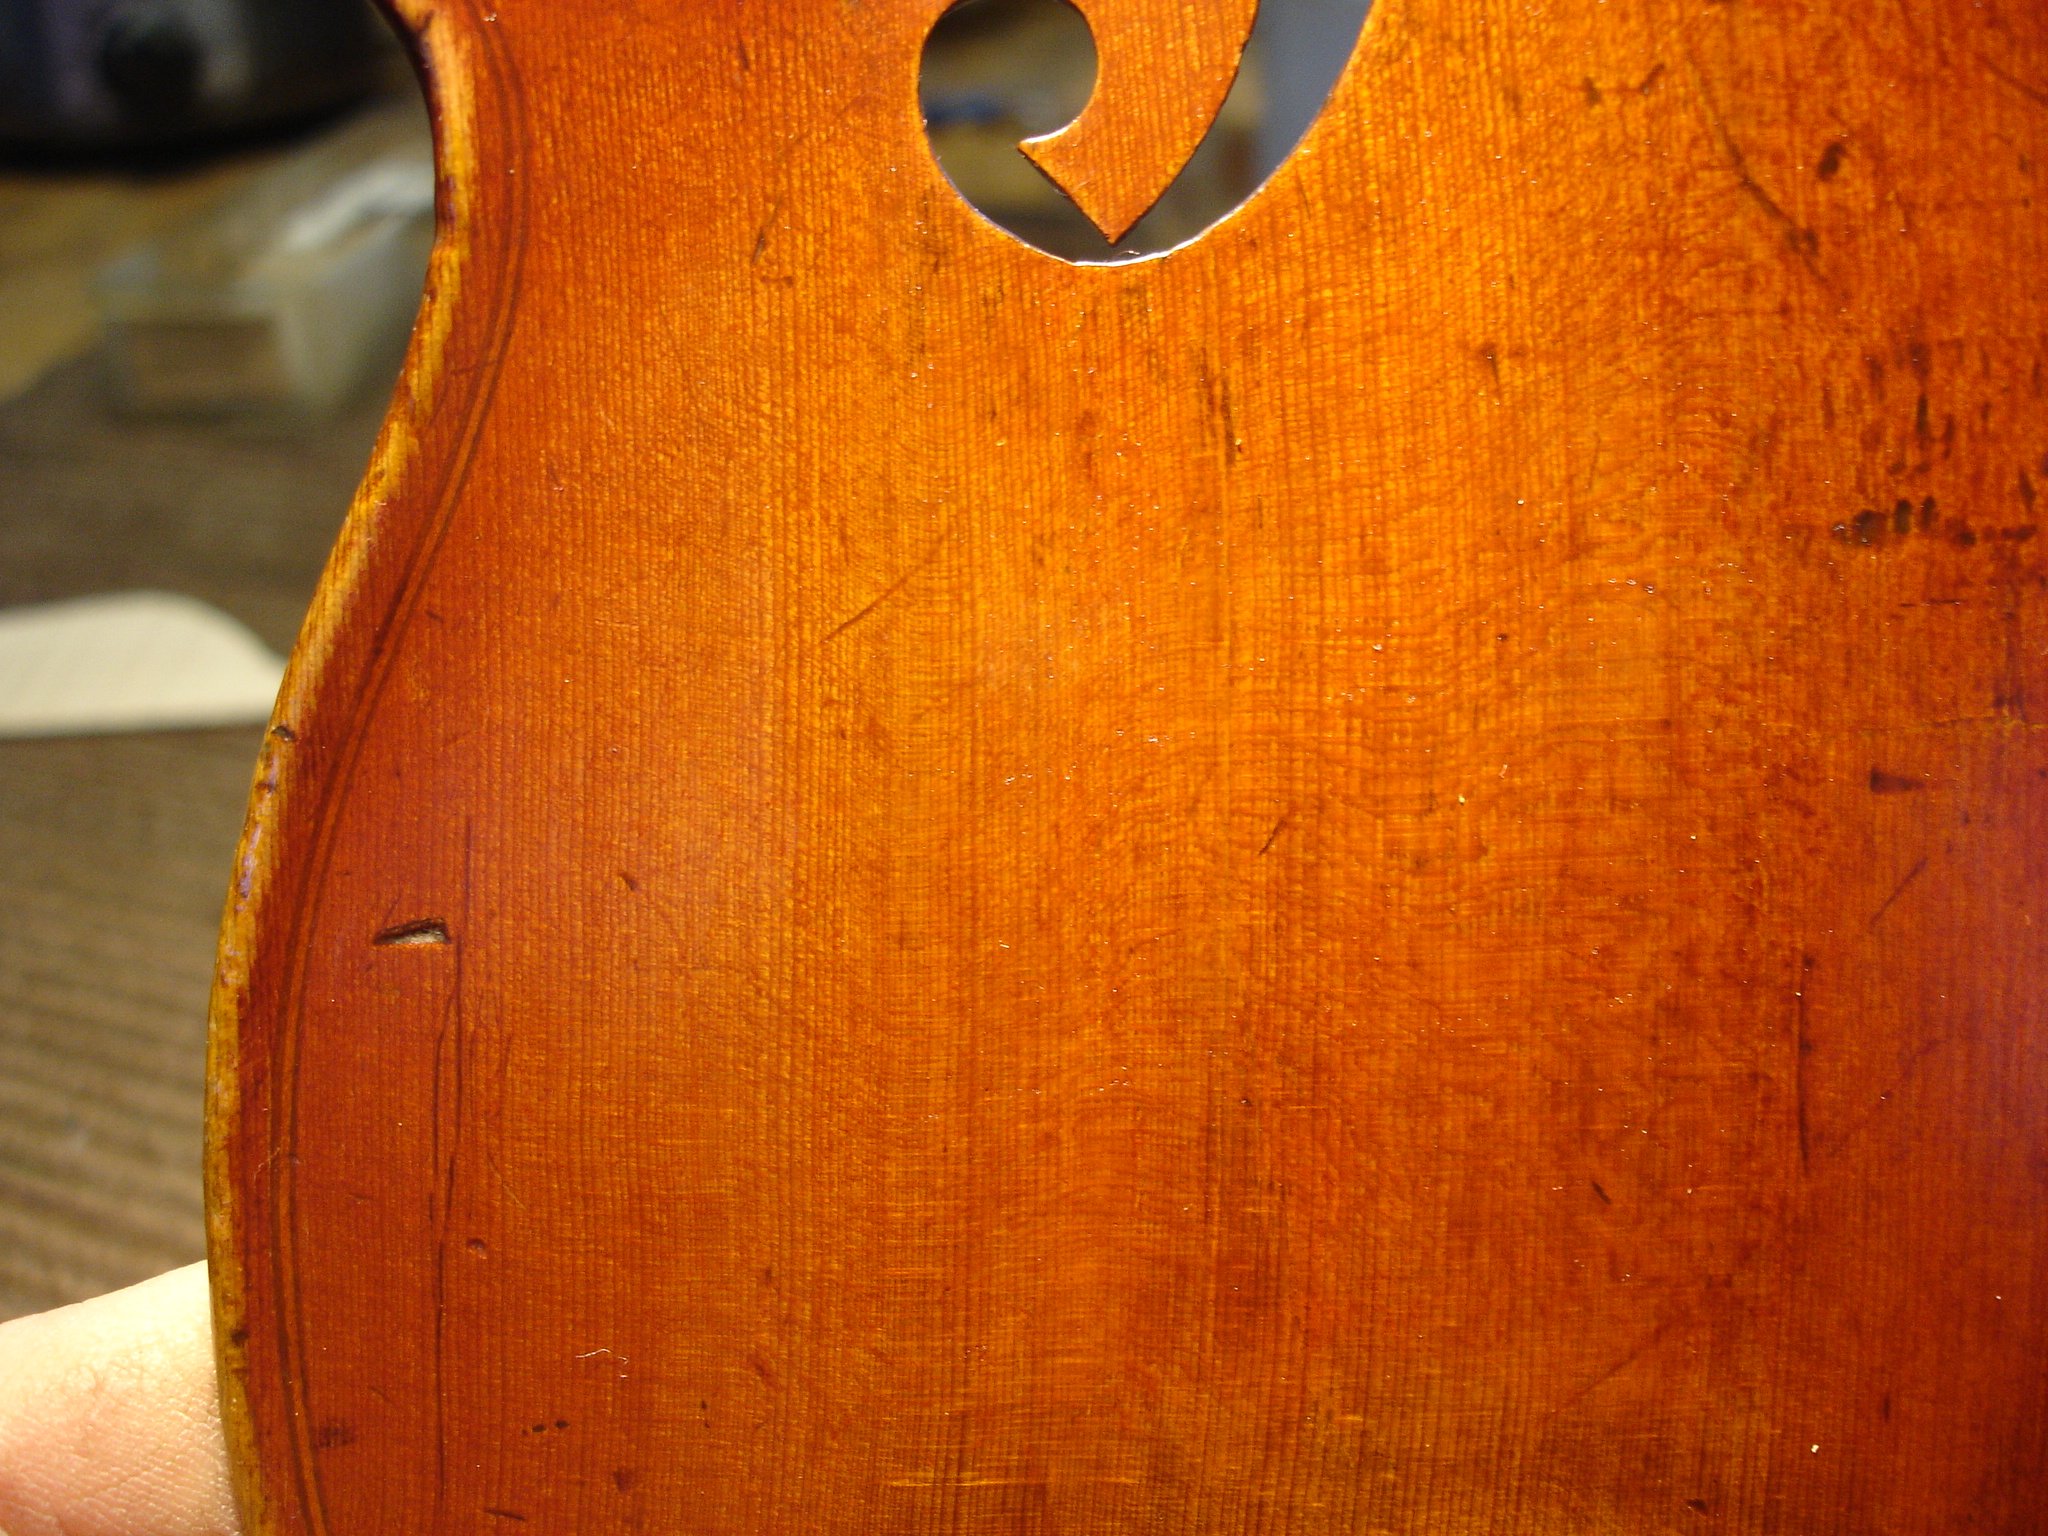
Stentor crack repair
Finished retouching

Stentor crack repair
After completion of all gluing, cleating and retouching, the instrument is reassembled and set up to play. Hopefully, there will be no more accidents for a long time.


